
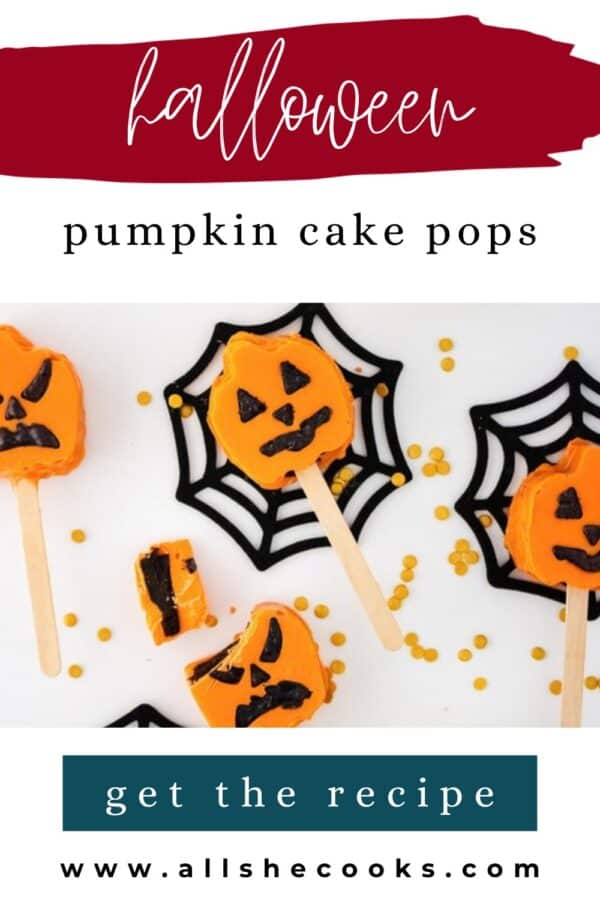
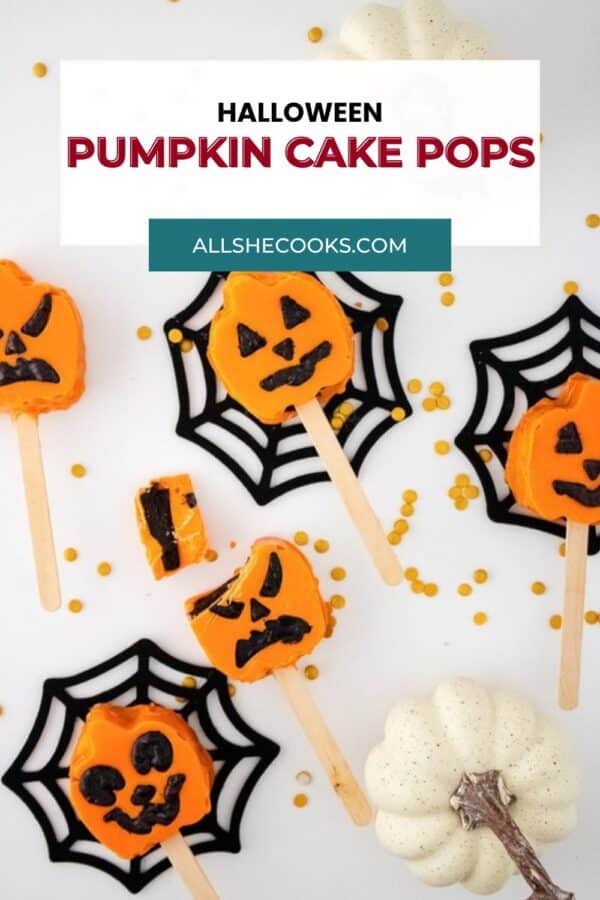
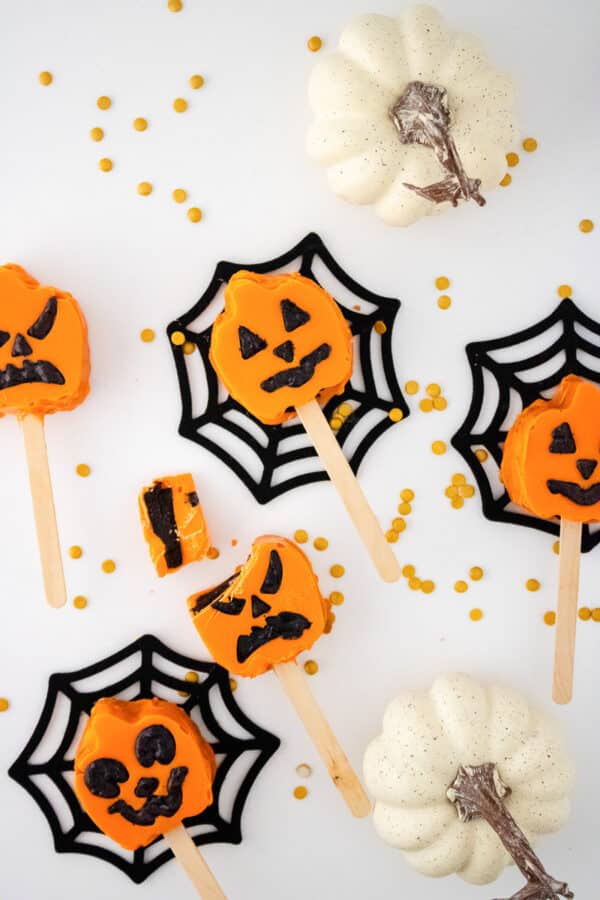
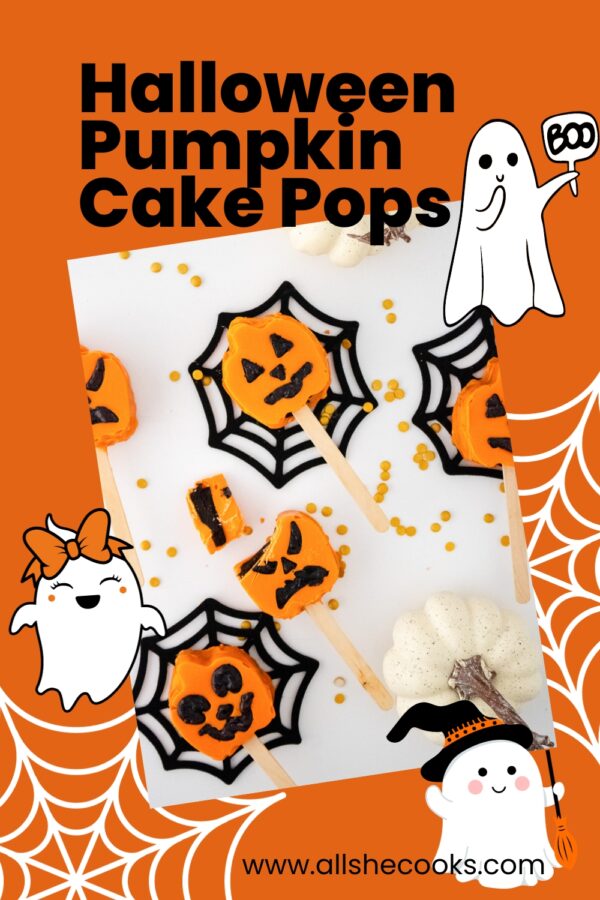
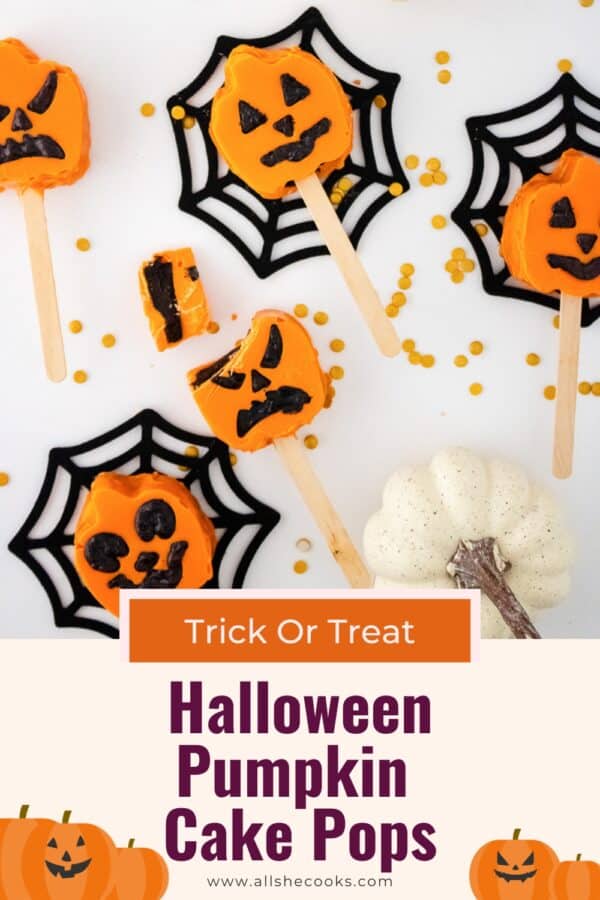
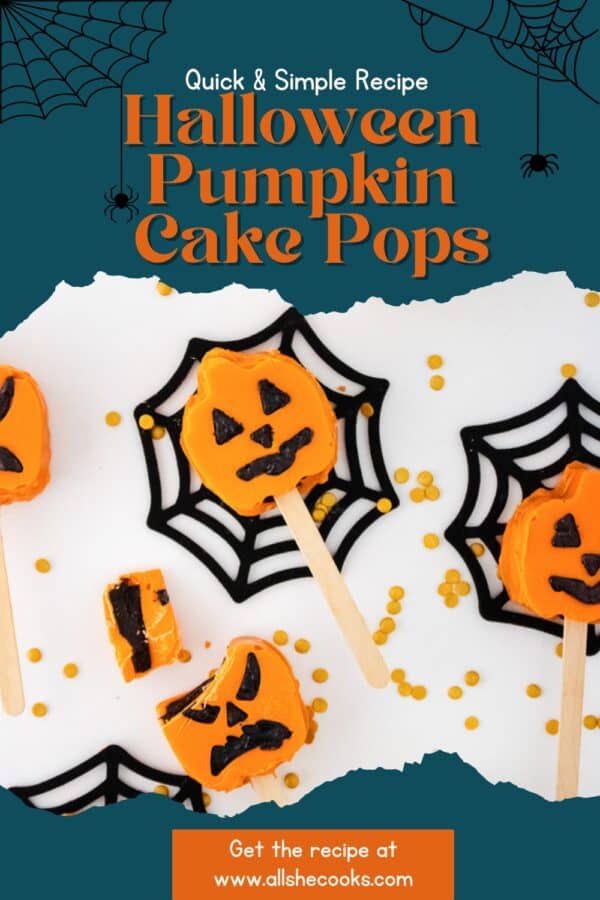
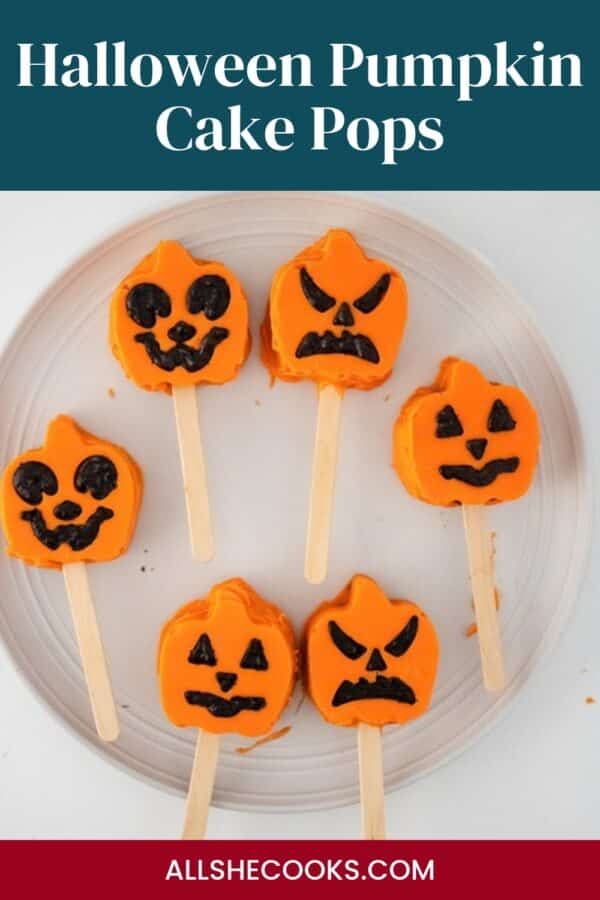
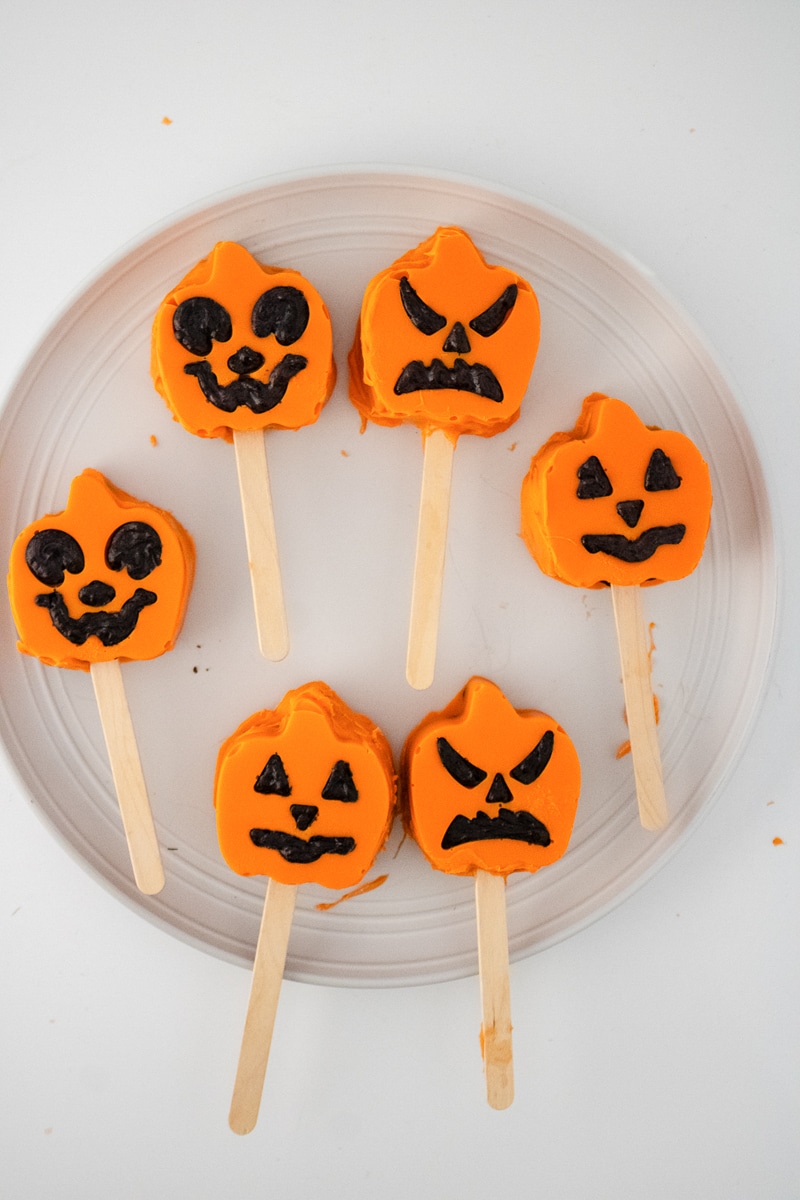
These Halloween Pumpkin Cake Pops are moist chocolate cake packed into jack-o'-lantern molds and wrapped in a crisp orange candy shell, then finished with spooky black faces. They look like they came from a bakery, but the silicone molds do most of the work, so they're easy enough to make with the kids.
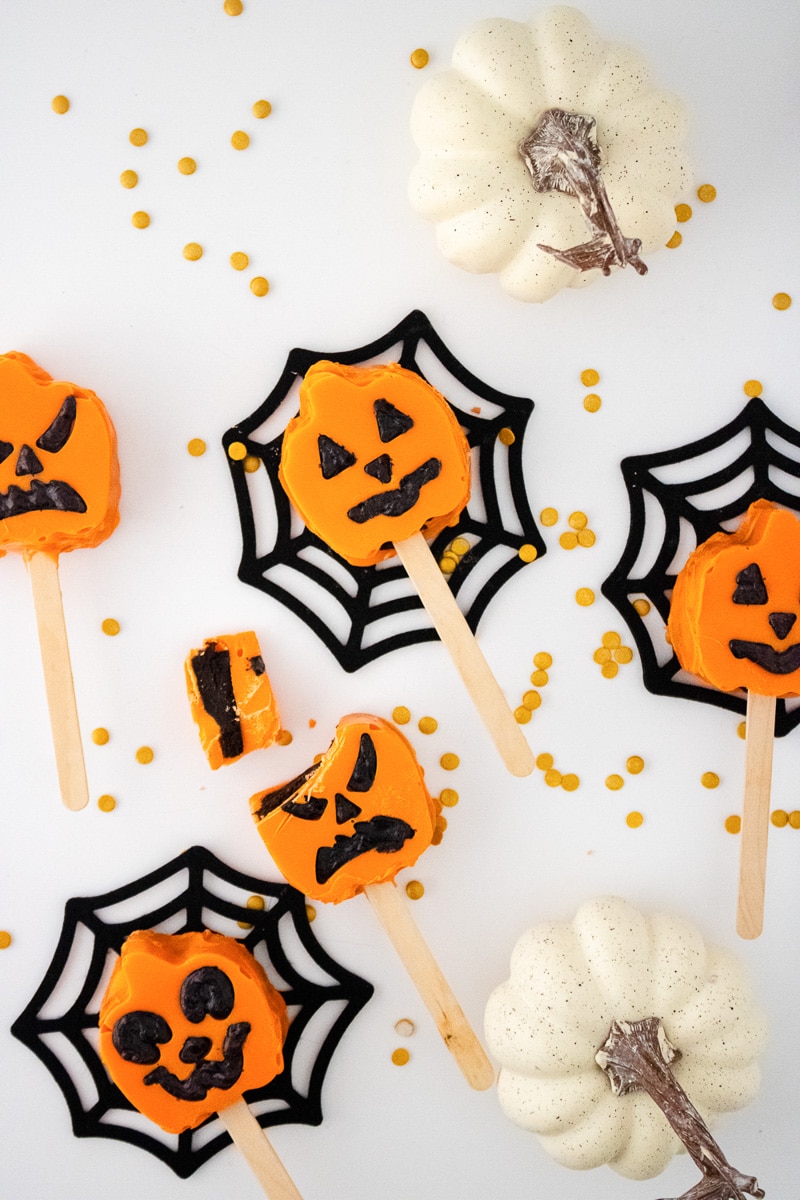
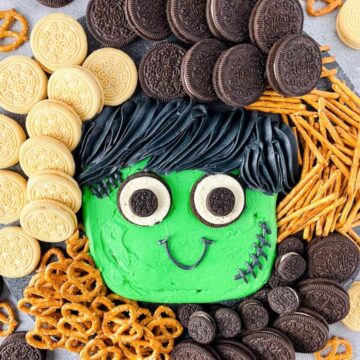
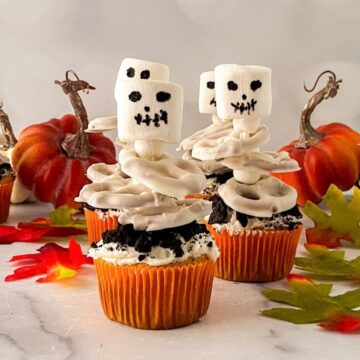
I've been on a Halloween baking binge lately, adding recipes like these Skeleton Cupcakes and this Baby Frankenstein Buttercream Board. These pumpkin cake pops are my new favorite of the bunch. Every pumpkin gets its own little face, the candy coating snaps when you bite in, and there's a rich, fudgy chocolate center hiding inside. They're a hit at class parties, trunk-or-treats, and Halloween movie nights.
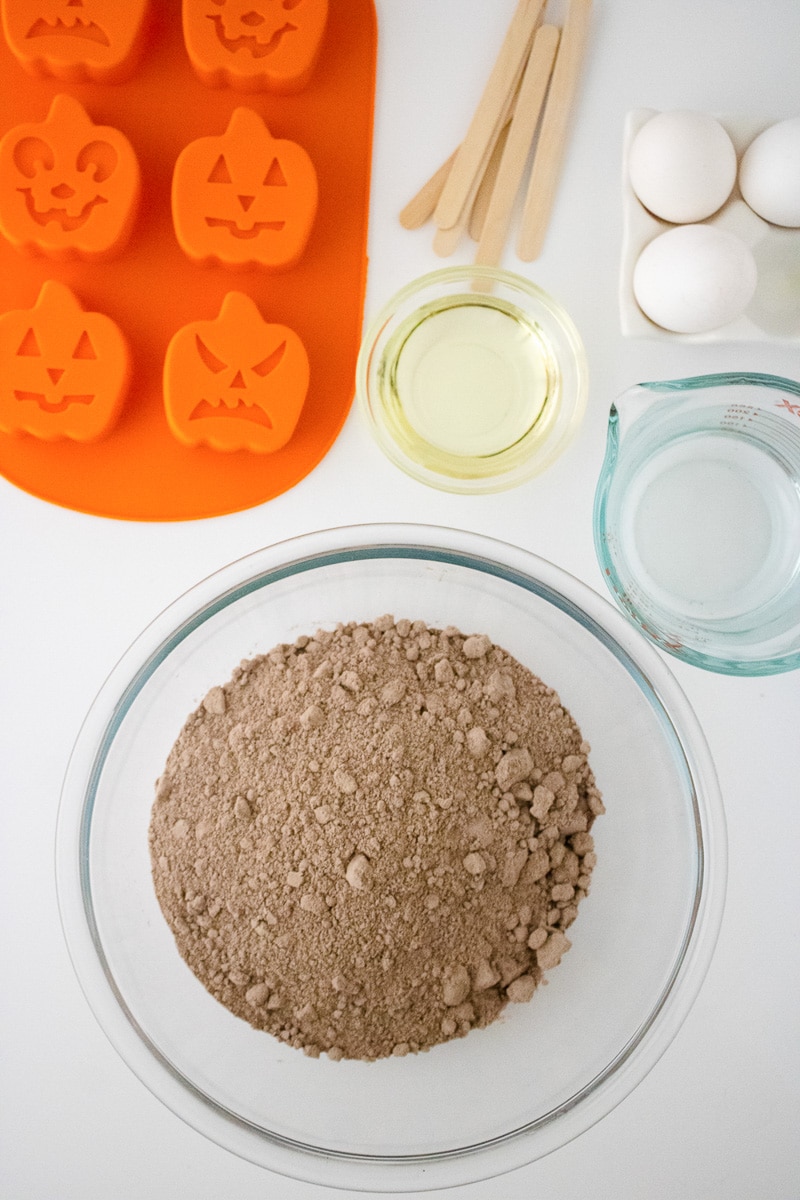
Key Ingredients & Substitutions
- Chocolate cake. The recipe card includes an easy one-bowl chocolate cake made with unsweetened cocoa powder, oil, and boiling water, which keeps it extra moist. Short on time? A boxed chocolate cake mix baked in a 9x13 pan works just as well, and so does a leftover or store-bought cake.
- Orange candy melts. I like Wilton orange candy melts because they taste good, melt smoothly, and set firm without tempering. You can swap in white candy melts or white chocolate tinted with an oil-based orange candy coloring. Regular water-based food coloring will make chocolate seize.
- Coconut oil or paramount crystals. A spoonful thins the melted candy so it spreads into every corner of the mold. Coconut oil is the easiest option. Paramount crystals or vegetable shortening do the same job.
- Black icing. This fills in the jack-o'-lantern faces. A squeeze bottle of black cookie icing with a narrow tip makes it easy to get into the small eyes and mouths. Black frosting in a piping bag with a small round tip works too.
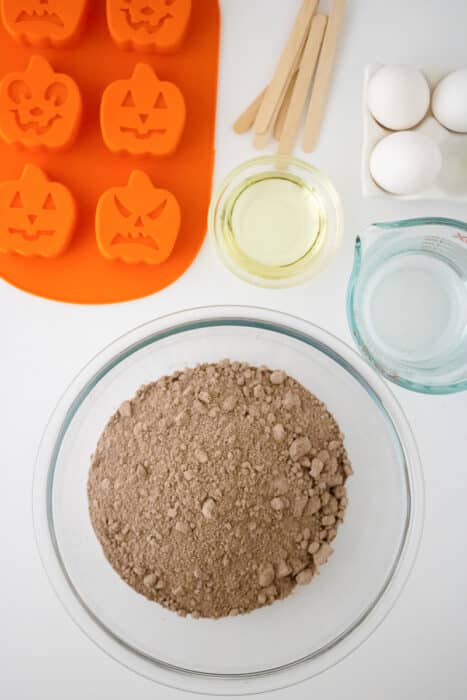
- Pumpkin-shaped silicone molds. Look for molds with cavities about 2 ½ inches across, like this 6-cavity pumpkin mold set. The set I first used had a different face in every cavity. If your molds are plain pumpkins, just pipe the faces on with the black icing.
- Craft knife and popsicle sticks. You'll cut a small slit in each mold for the stick, and a sharp craft knife like this makes a clean cut. Sharp kitchen scissors also work. Wooden popsicle sticks hold up better than paper lollipop sticks because these pops are bigger than the usual round cake pop.
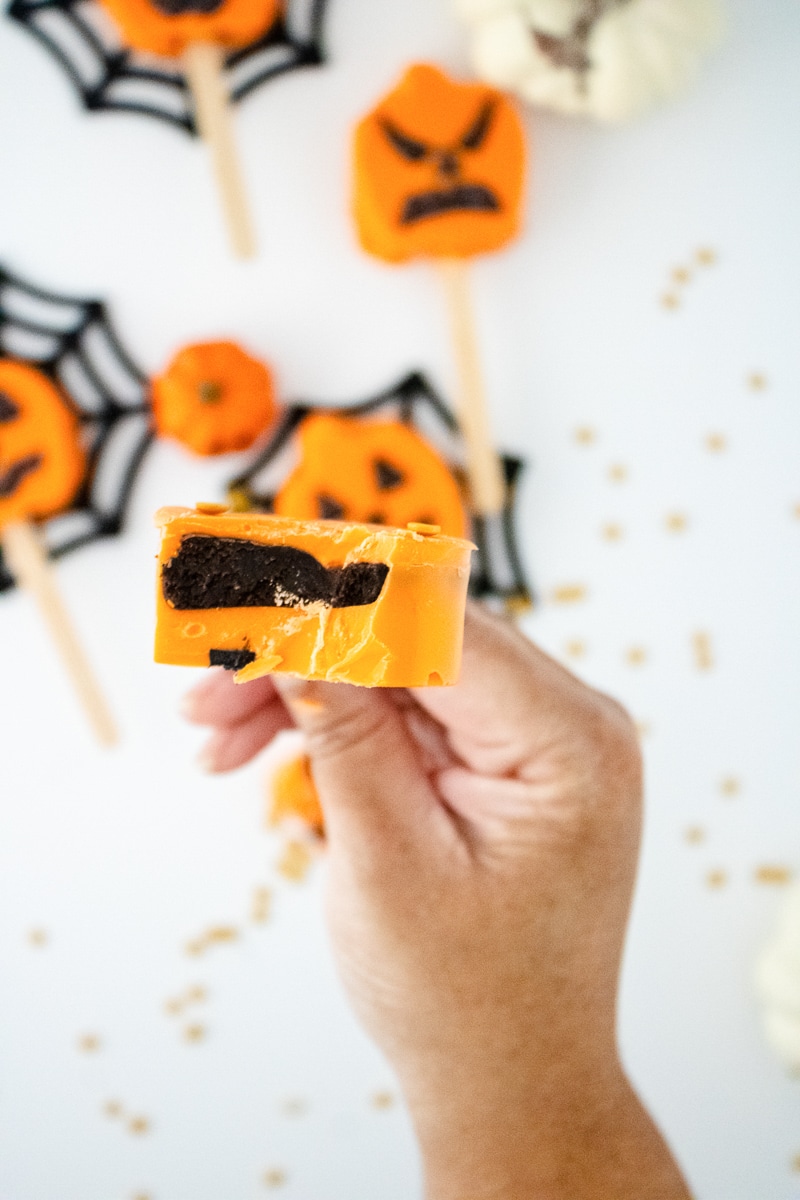
How to Make Pumpkin Cake Pops
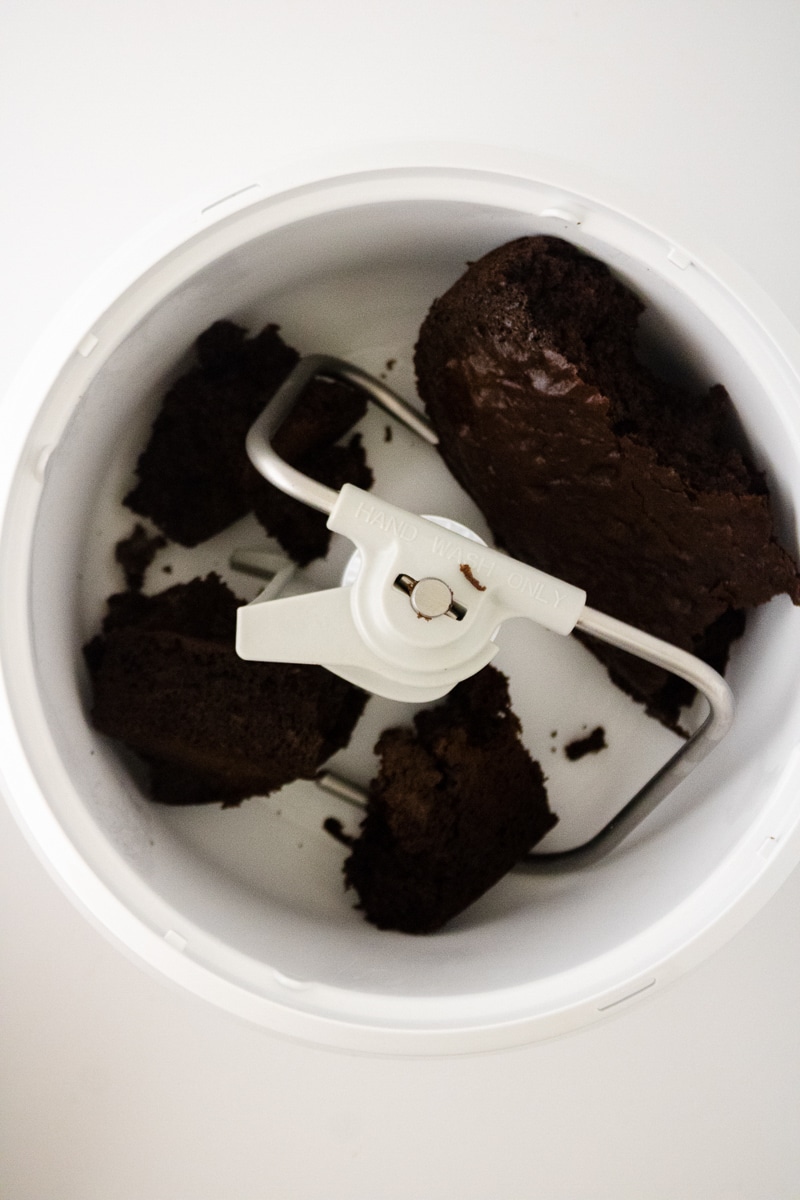
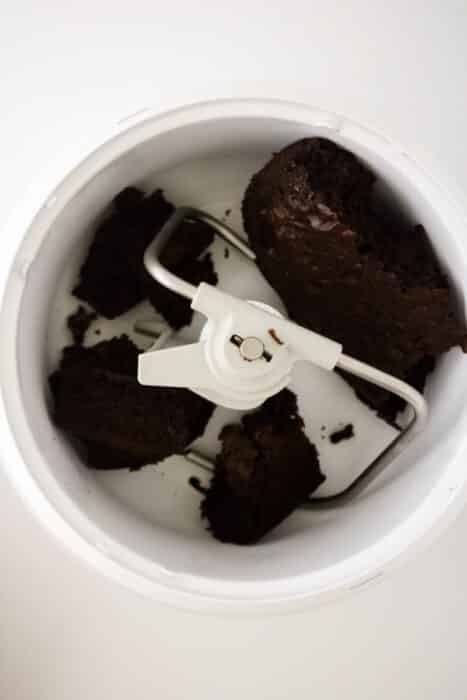
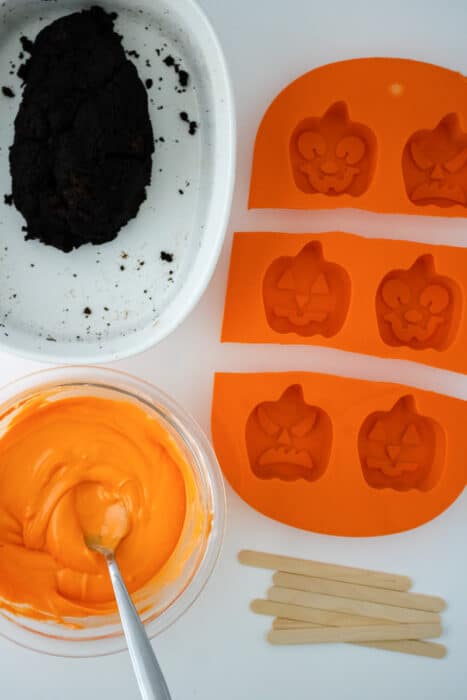
First, bake the chocolate cake that goes inside these little pumpkins. While it's still warm, break it into chunks and beat it in a stand mixer with the paddle attachment. The warm cake turns into a soft, fudgy cake pop "dough" all on its own, so there's no need to add frosting.
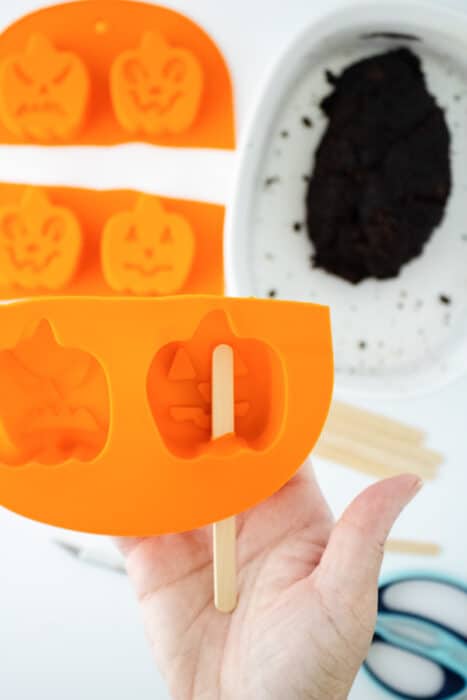
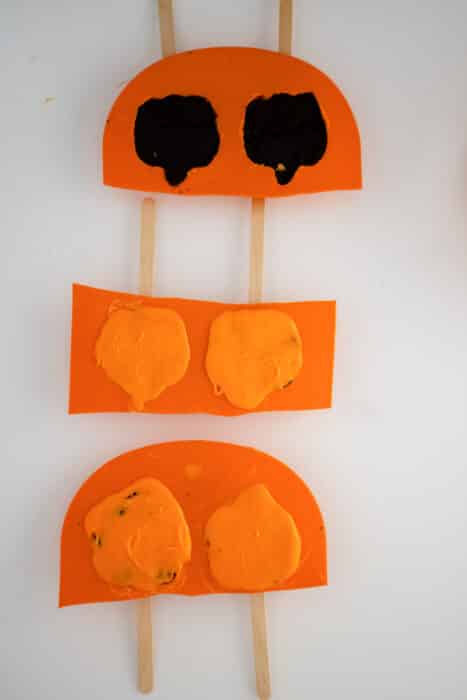
Next, get the molds ready. Carefully cut a slit in the bottom of each pumpkin cavity, just large enough for a popsicle stick to slide through. I also cut my molds apart into smaller sections so they were easier to handle and fit on a sheet pan in the freezer.
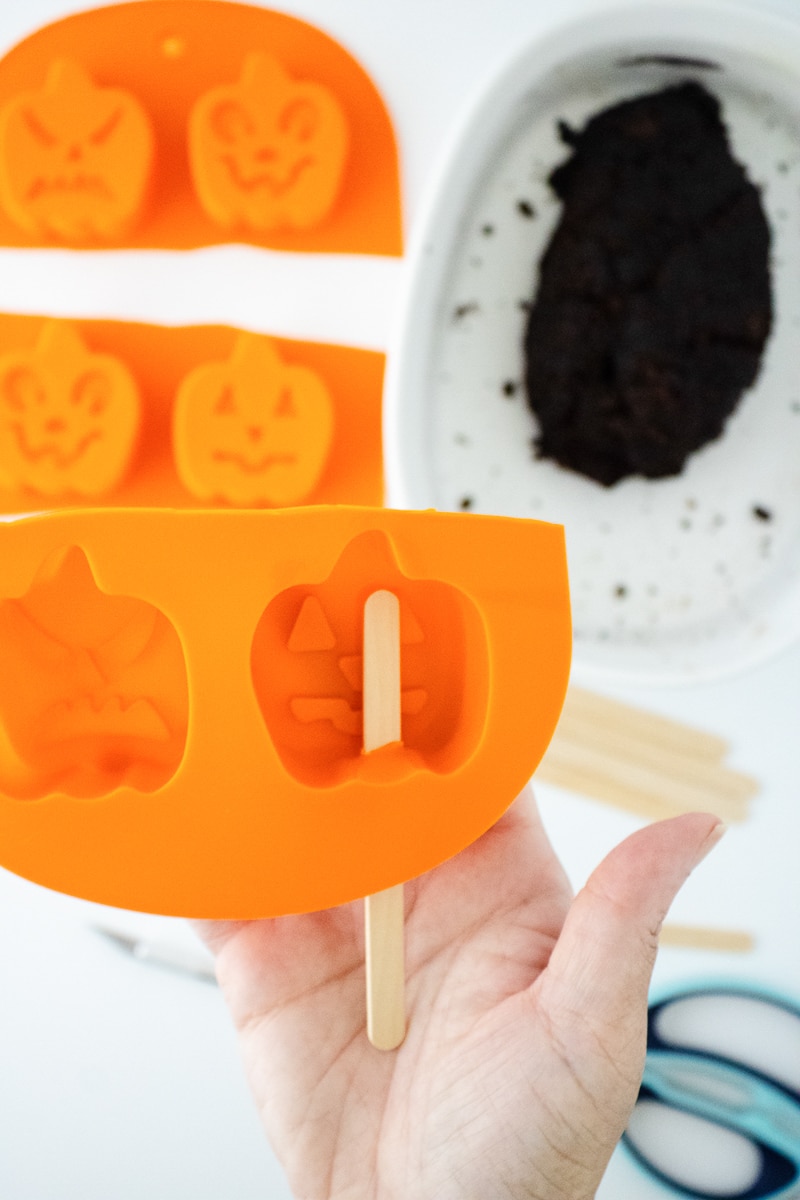
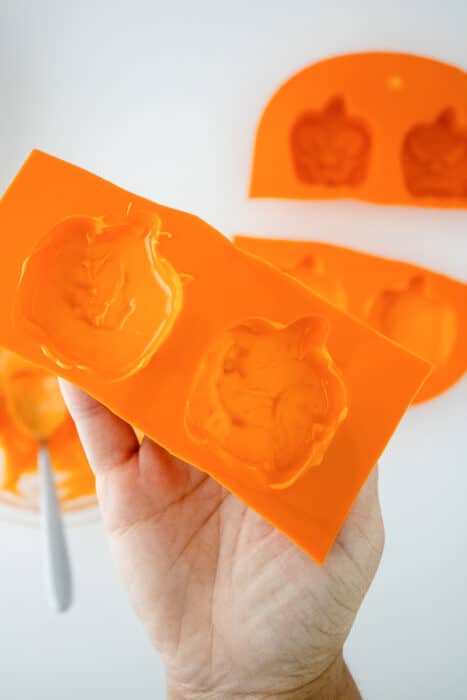
Melt the orange candy melts with the coconut oil in a microwave-safe bowl, heating in 30-second bursts and stirring in between until smooth. Spread a layer of the melted candy inside each mold, coating the bottom and sides well. Push a popsicle stick through each slit, then freeze the molds for about 10 minutes, until the shell is firm.
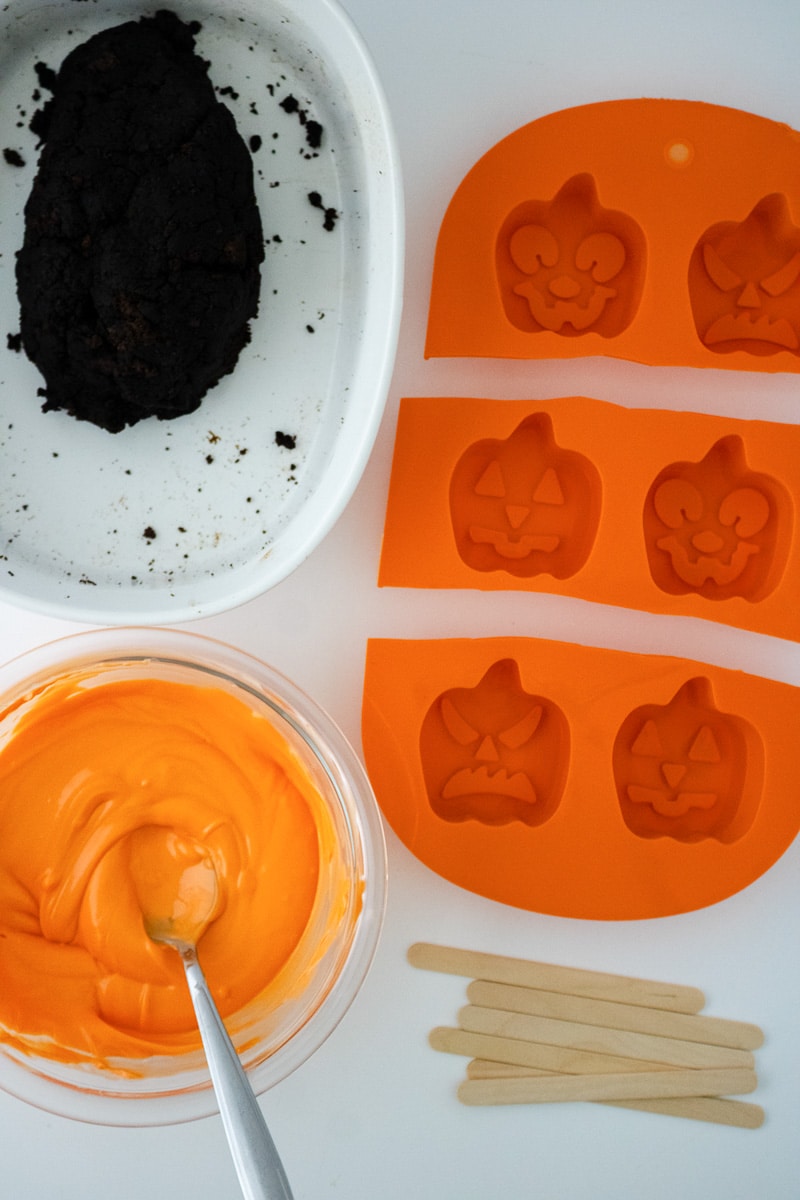
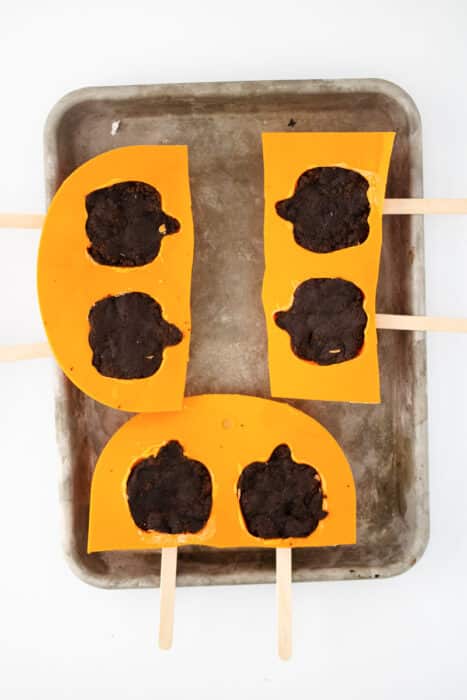
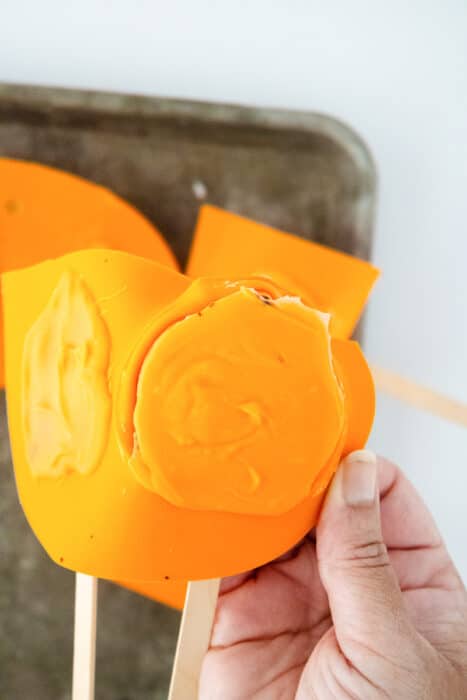
Press the chocolate cake dough into each candy-lined mold, leaving a little room at the top. Spread another layer of orange candy over the back to seal the cake in, and freeze for another 10 minutes, until hardened.
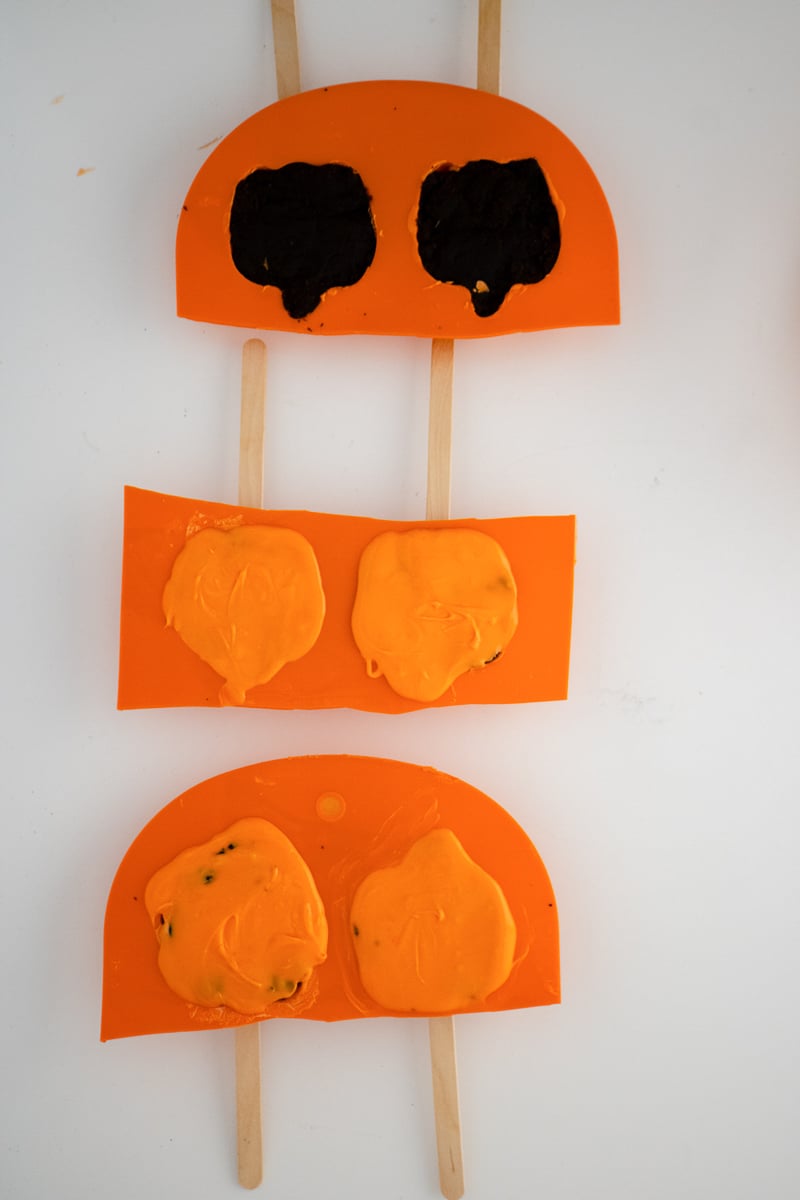
To unmold, gently pull the sides of the silicone outward, peel it away from each pumpkin, and slide the stick out through the slit.
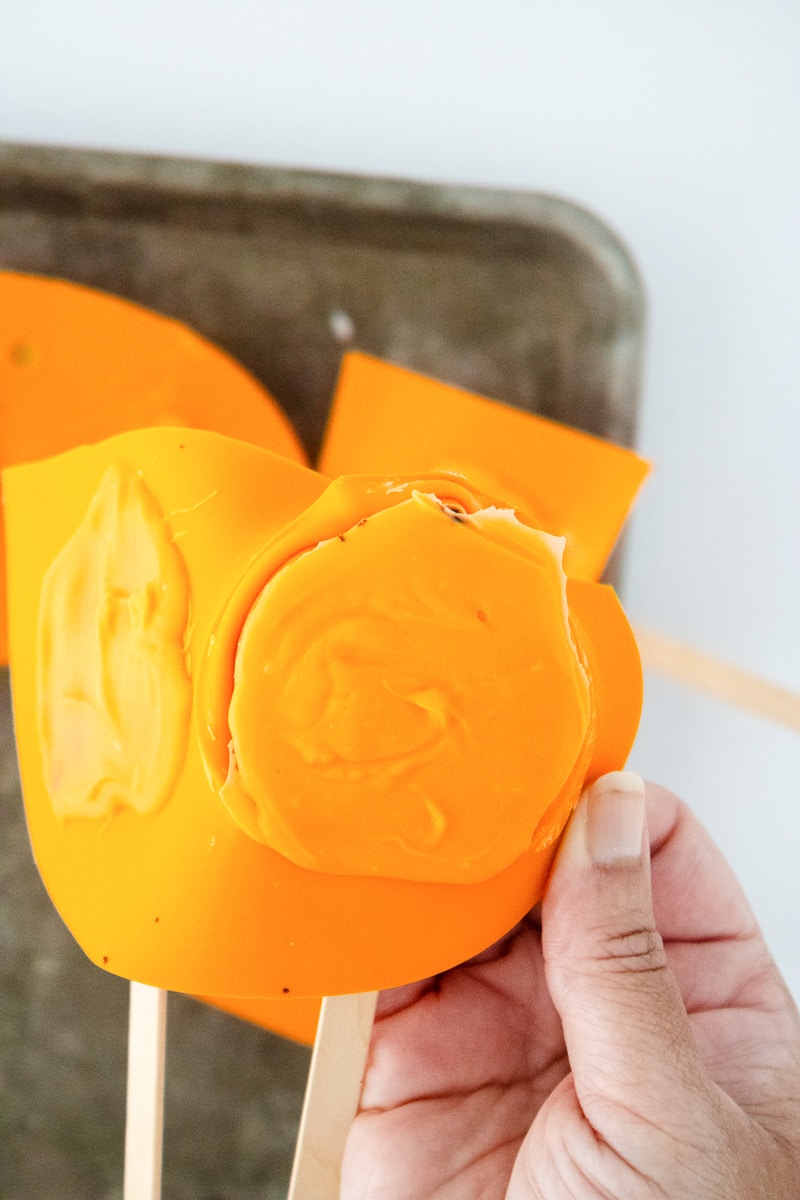
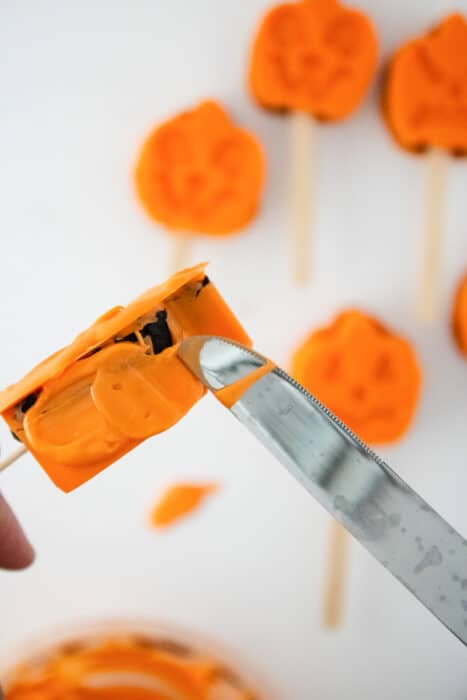
If any spots of cake are showing, dab a little extra melted candy over them with a butter knife. Set the pops on parchment paper to firm up.
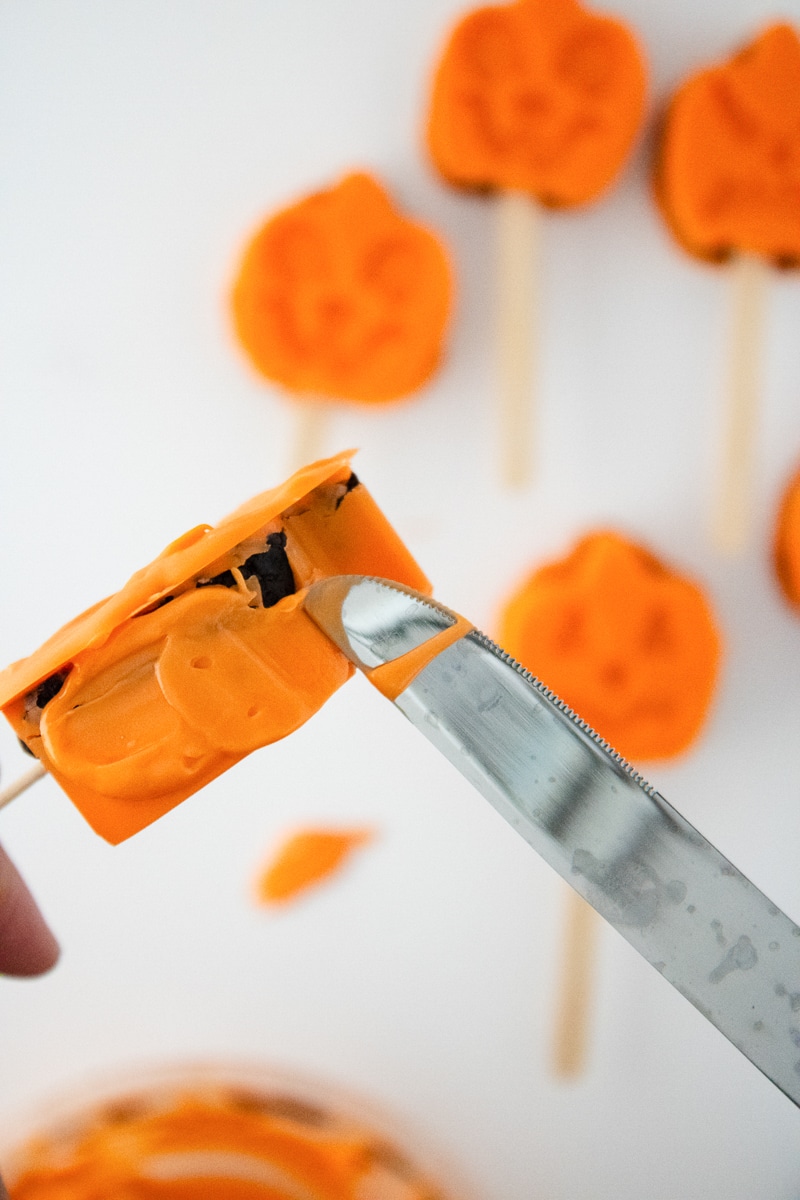
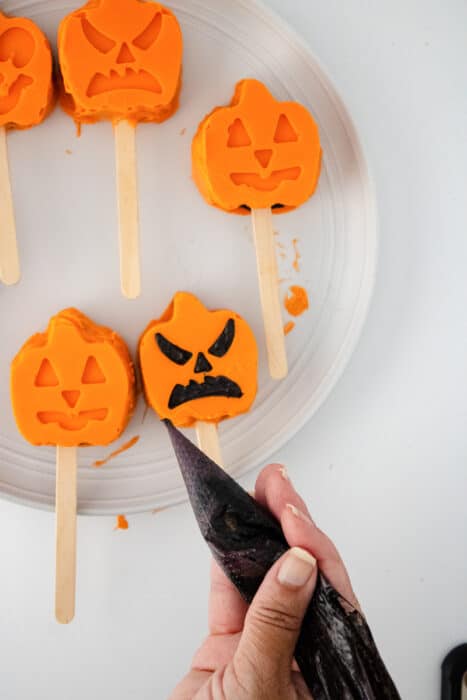
Once the coating is set, fill in the jack-o'-lantern eyes, noses, and mouths with the black icing. Let the icing set before serving.
Helpful Tips
Don't skip the slit. Cutting a slit for the stick before you add any candy is what makes these pops possible. Keep each slit small and neat. If it's too wide, melted candy can leak out the bottom and the stick will wobble.
Keep the candy melts smooth. Candy melts scorch easily, so use short 30-second bursts at 50% power if your microwave runs hot, and stir well each time. If the candy turns thick or clumpy, stir in a little more coconut oil, ½ teaspoon at a time, until it's fluid again.
Build a thick first shell. Thin spots in the first layer of candy are where the cake shows through after unmolding. Brush or spoon the candy up the sides of each cavity, freeze, and add a second thin coat to any spots that look see-through.
Don't overfill with cake. Press the cake dough in firmly, but stop a little below the rim so there's room for the back layer of candy to seal it in. Depending on how big your mold cavities are, you may have extra cake dough. Roll the leftovers into balls, dip them in the remaining candy, and you've got bonus cake bites.
Chill, don't over-freeze. About 10 minutes in the freezer is enough for each layer. If the pops stay in much longer, condensation can form on the shell as they come back to room temperature, which makes the black icing harder to pipe cleanly.
Variations
- Pumpkin spice cake pops. Swap the chocolate cake for a spiced pumpkin cake, like the one from my Layered Pumpkin Cake with Pumpkin Ganache Filling, for pumpkins that taste like pumpkin, too.
- Cake and frosting centers. For a softer, more classic cake pop texture, beat ¼ cup of chocolate or vanilla frosting into the cooled cake crumbs before filling the molds.
- Monster mash. Use green, purple, or white candy melts and turn the pumpkins into Frankenstein heads, ghosts, or monsters with the same method.
- Red velvet surprise. Use red velvet cake inside for a creepy "bloody" center when you bite in.
- Sprinkle finish. Skip the faces and press Halloween sprinkles onto the back layer of candy while it's still wet.
Serving Ideas
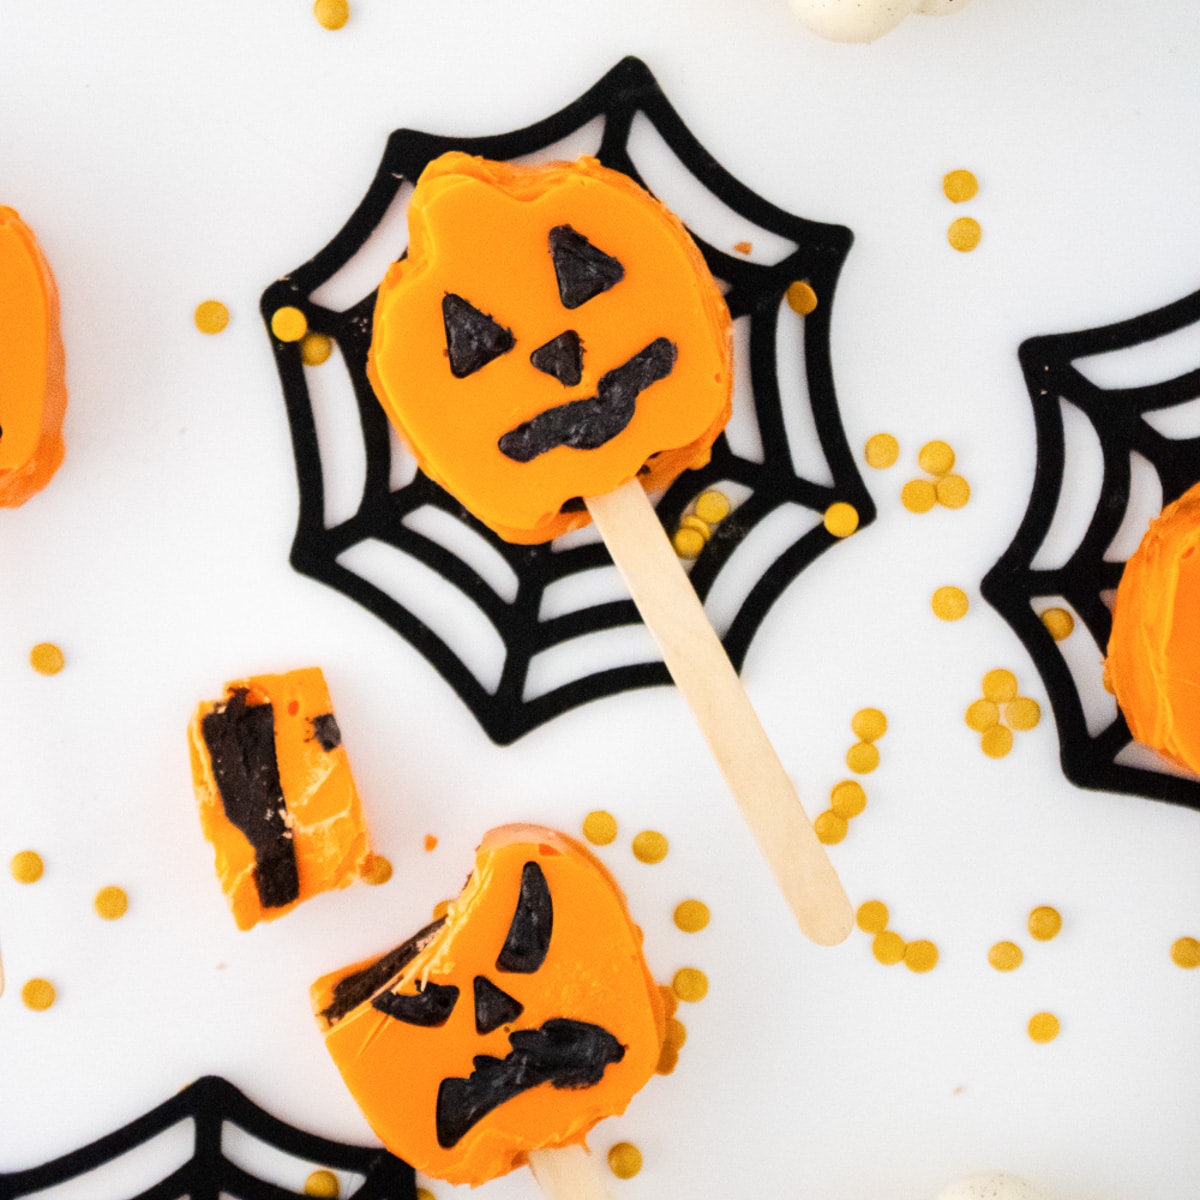
These pops are made for a Halloween party table. Stand them upright in a small pumpkin or a jar filled with candy corn, or lay them out on spiderweb placemats like I did. They also pack nicely into clear treat bags tied with orange and black ribbon for classroom parties and trick-or-treat goodie bags.
For a full dessert spread, pair them with a big-batch fall cake like Pumpkin Dump Cake or Pumpkin Poke Cake, and add grown-up treats like these Ghostly Guzzle Pudding Shots for the adults.
Storing & Freezing
Store the cake pops in an airtight container at room temperature for up to 2 days, or in the refrigerator for up to 1 week. Lay them in a single layer, or separate the layers with parchment paper, so the faces don't smudge. If refrigerated, let them sit out for 15 to 20 minutes before serving so the cake softens.
To freeze, wrap the finished pops individually in plastic wrap and freeze them in a freezer bag or container for up to 1 month. Thaw them in the refrigerator overnight while they're still wrapped, then bring them to room temperature before unwrapping. This keeps condensation from dulling the candy shell. You can also freeze the unmolded, undecorated pops and add the black faces after thawing.
More Halloween and Pumpkin Treats
If you loved these pumpkin cake pops, here are a few more treats you might enjoy:
- Layered Pumpkin Cake with Pumpkin Ganache Filling
- Pumpkin Dump Cake
- Pumpkin Poke Cake
- Crazy-Easy Halloween Cupcakes
Recipe
Halloween Pumpkin Cake Pops
Ingredients
For the chocolate cake:
- 1 ¼ cups all-purpose flour
- ½ cup unsweetened cocoa powder
- 1 ½ cups granulated sugar
- 1 teaspoon baking powder
- 1 teaspoon baking soda
- ¾ teaspoon salt
- 1 large egg at room temperature
- ¾ cup whole milk
- ⅓ cup vegetable oil
- 1 ½ teaspoon pure vanilla extract
- ¾ cup boiling water heat in the microwave
For the candy coating and decorating:
- 2 cups orange candy melts about one 12-ounce bag
- 1 tablespoon coconut oil or paramount crystals or vegetable shortening
- 1 bottle black cookie icing 9 ounces, or black frosting in a piping bag with a small round tip
Instructions
For the chocolate cake:
- Preheat the oven to 350°F (175°C). Grease and lightly flour a 9x13-inch baking pan.
- In a large mixing bowl, sift together the flour, cocoa powder, sugar, baking powder, baking soda, and salt until well combined.

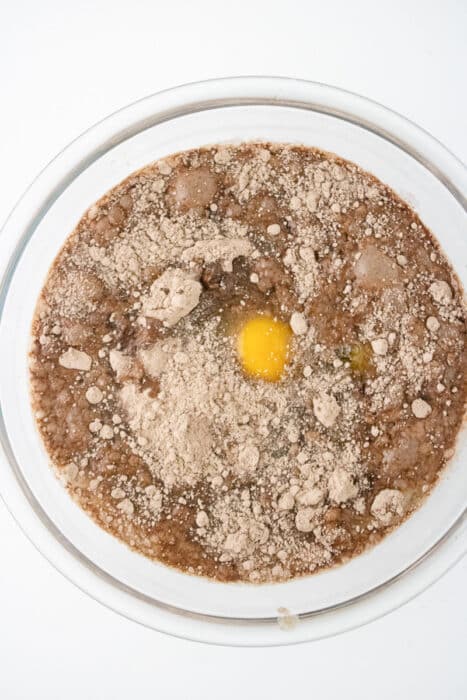
- Make a well in the center of the dry ingredients. Add the egg, milk, vegetable oil, and vanilla extract, and mix until just combined. The batter will be thick at this point.
- Slowly pour the boiling water into the batter, mixing continuously until smooth. The batter will be thin.
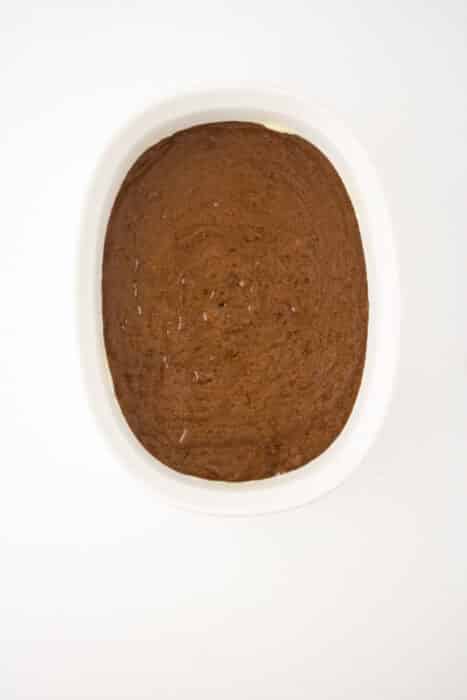
- Pour the batter into the prepared pan and spread it into an even layer. Tap the pan lightly on the counter to release any air bubbles.
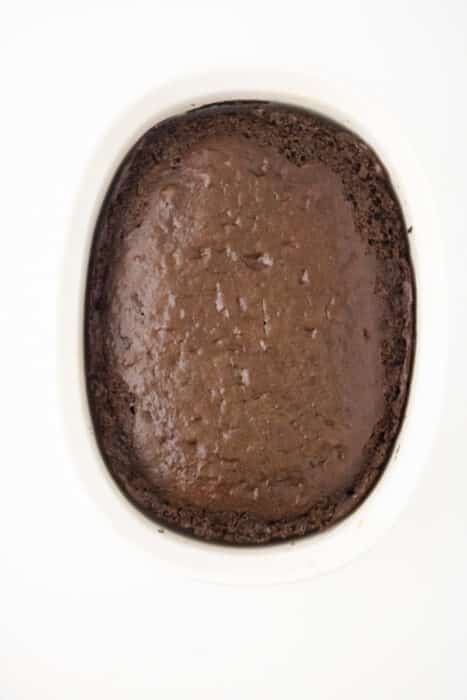
- Bake for 25 to 30 minutes, until a toothpick inserted into the center comes out clean or with just a few moist crumbs.
For the cake pops:
- While the cake is still warm, break it into chunks and add it to the bowl of a stand mixer fitted with the paddle attachment. Mix on medium speed until the cake comes together into a soft, fudgy dough. (A hand mixer or a sturdy spoon also works.)
- Use a sharp craft knife or scissors to cut a small slit in the bottom of each pumpkin cavity, just large enough for a popsicle stick to slide through.
- Place the orange candy melts and coconut oil in a microwave-safe bowl. Microwave in 30-second bursts, stirring after each, until melted and smooth.
- Spread a layer of the melted candy inside each mold, coating the bottom and sides well. Push a popsicle stick through each slit, then freeze for about 10 minutes, until the candy shell is firm.
- Press the cake dough into each candy-lined mold, stopping a little below the rim.
- Spread another layer of melted candy over the back of each pumpkin to seal in the cake. Freeze for another 10 minutes, until hardened.
- Gently pull the sides of the silicone mold outward to release each cake pop, sliding the stick out through the slit.
- If any cake is showing, spread a little more melted candy over the exposed spots with a butter knife. Set the pops on parchment paper until firm.
- Use the black icing to fill in the jack-o'-lantern eyes, noses, and mouths (or leave them plain orange if you prefer). Let the icing set before serving.
Notes
Nutrition
Nutrition details are an estimate, per serving.
Leave a Comment