
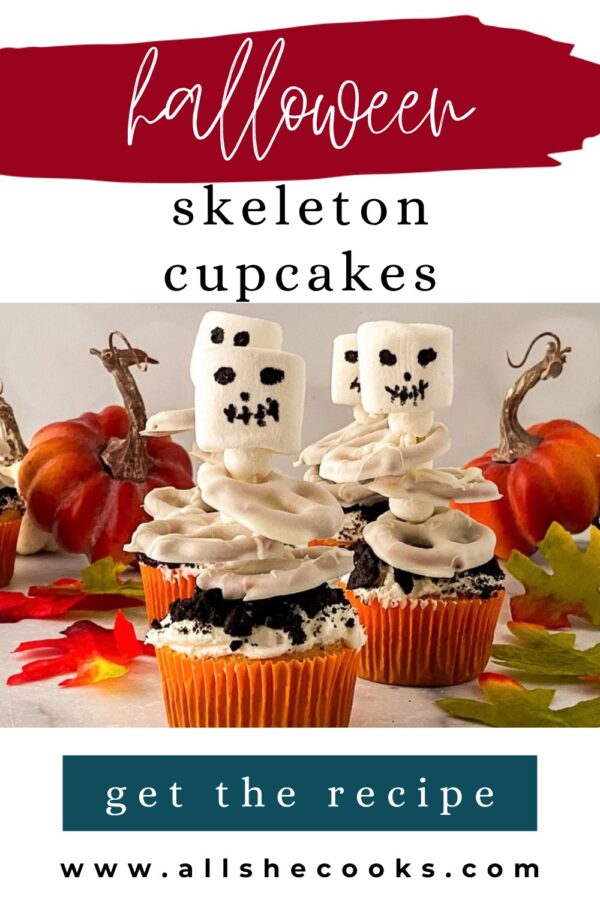
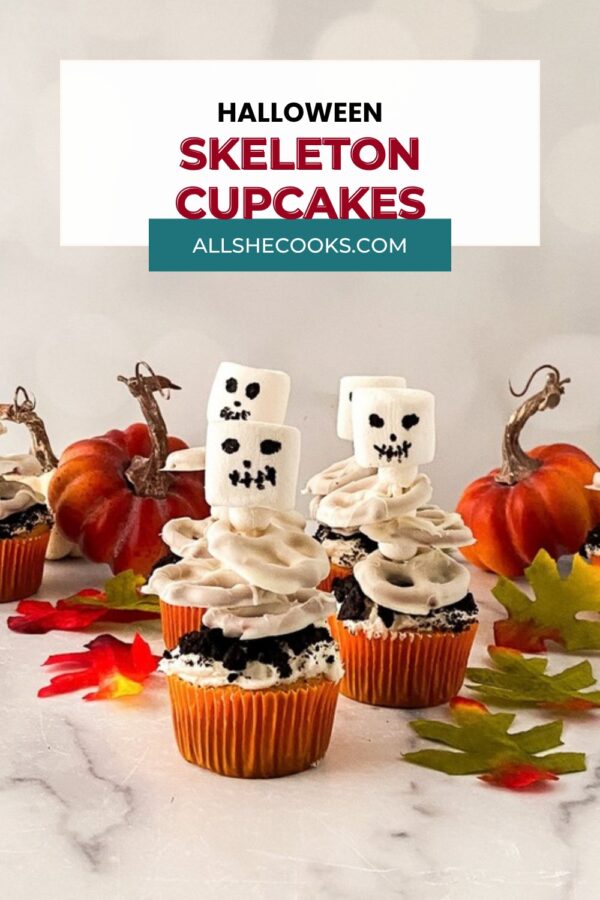
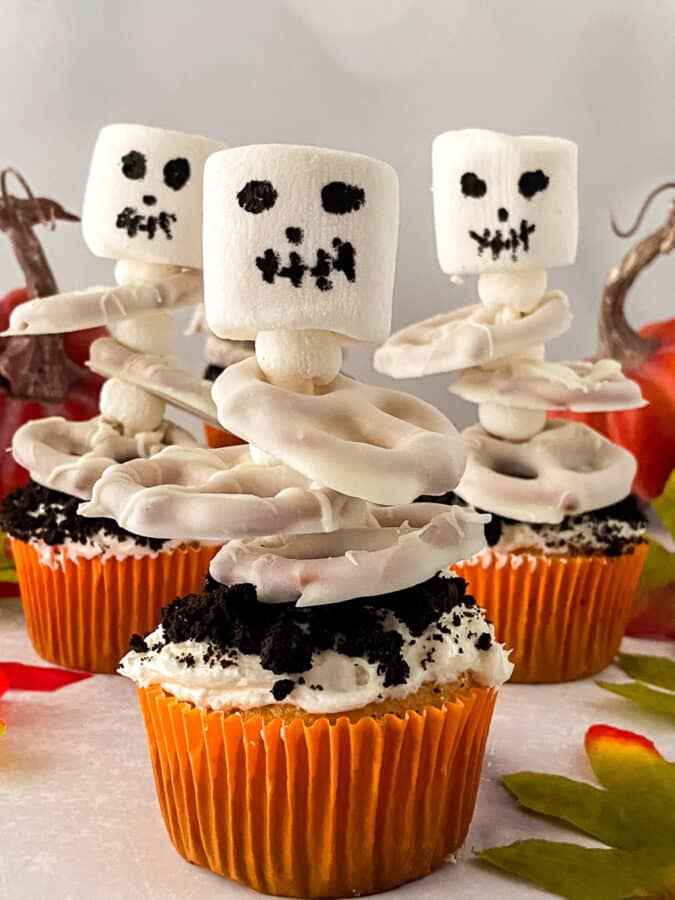
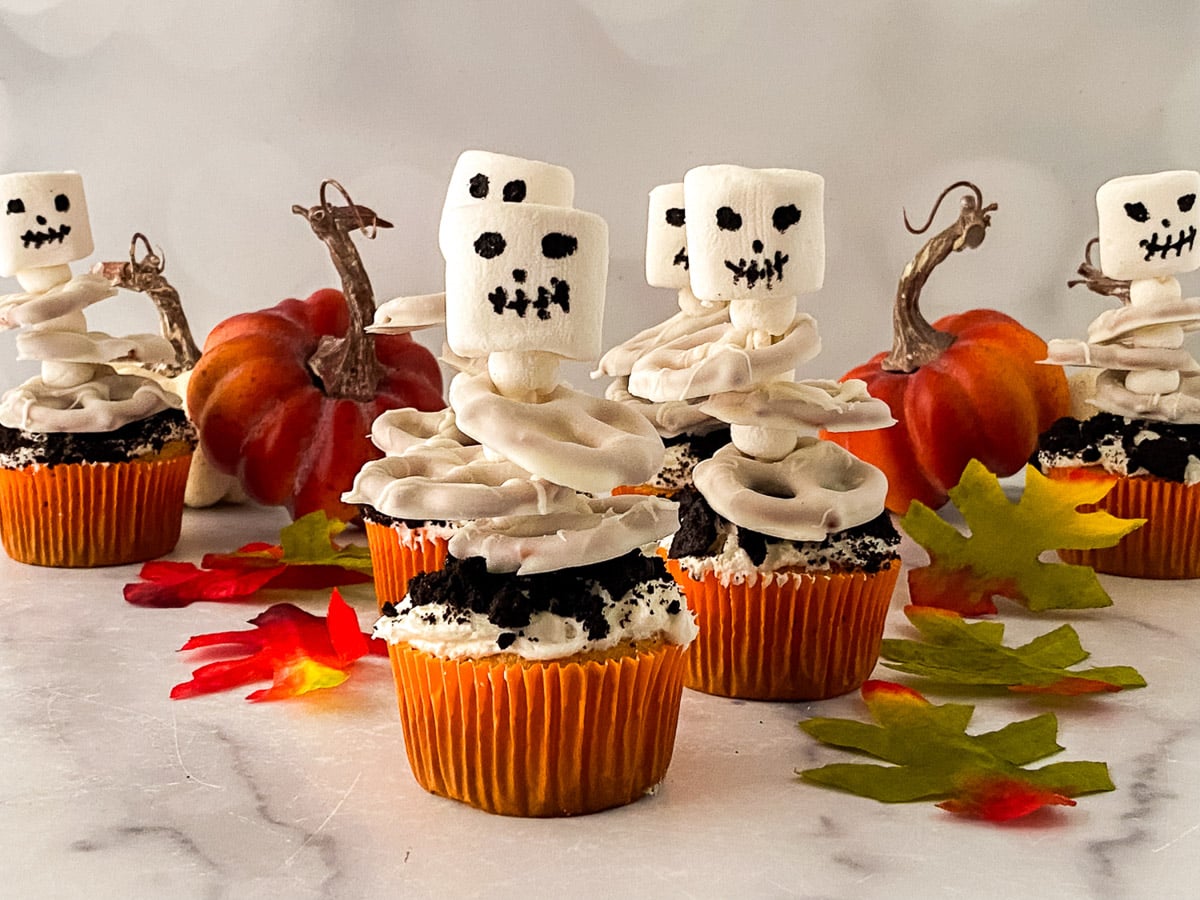
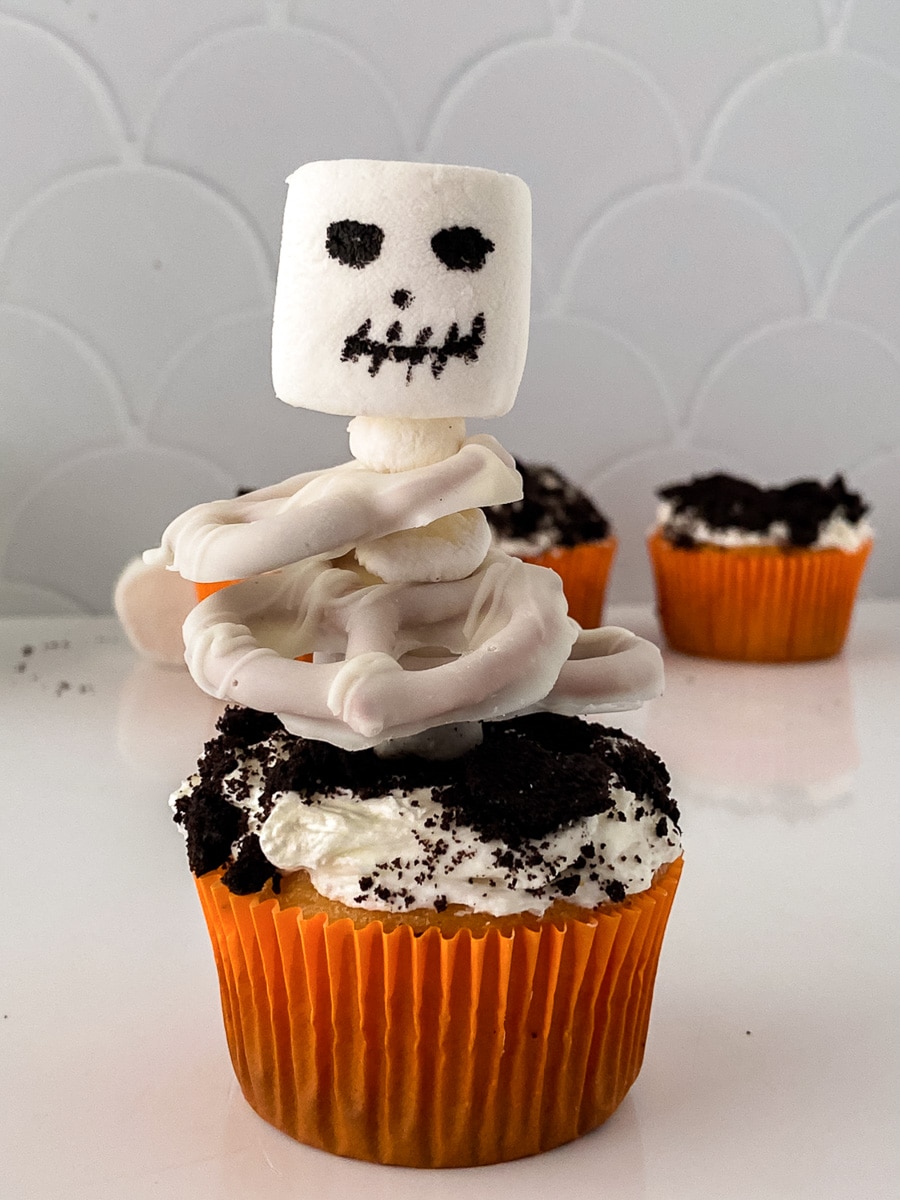
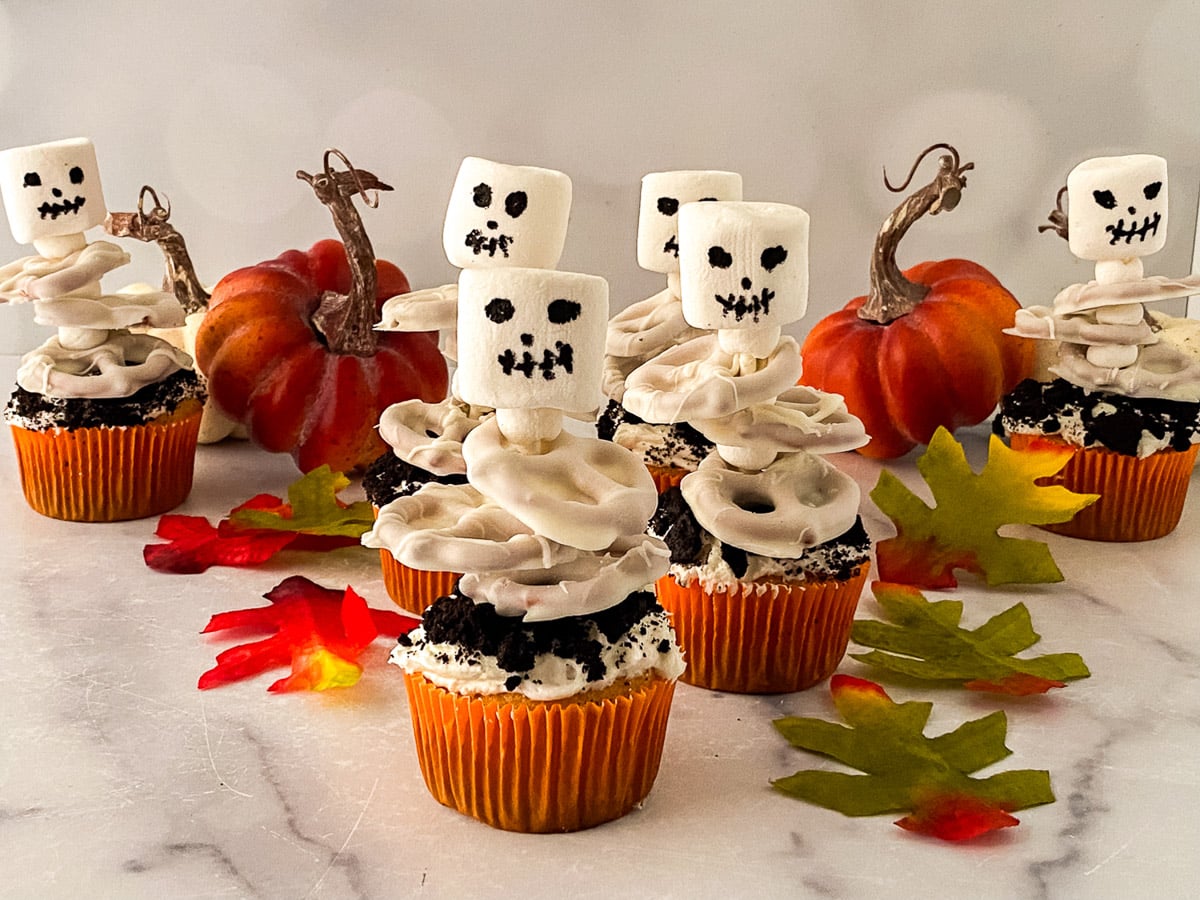
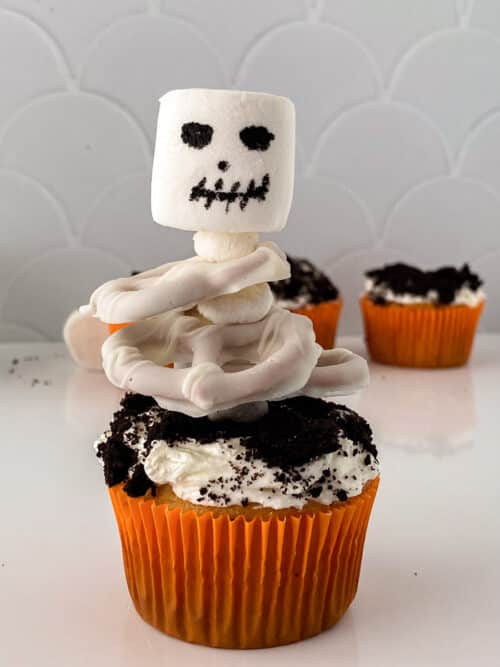
These Halloween Skeleton Cupcakes are fluffy vanilla cupcakes topped with Oreo "dirt" and a little skeleton made from marshmallows and candy-coated pretzels. They're equal parts creepy and cute, surprisingly easy to put together, and always the first thing to disappear from the Halloween dessert table.
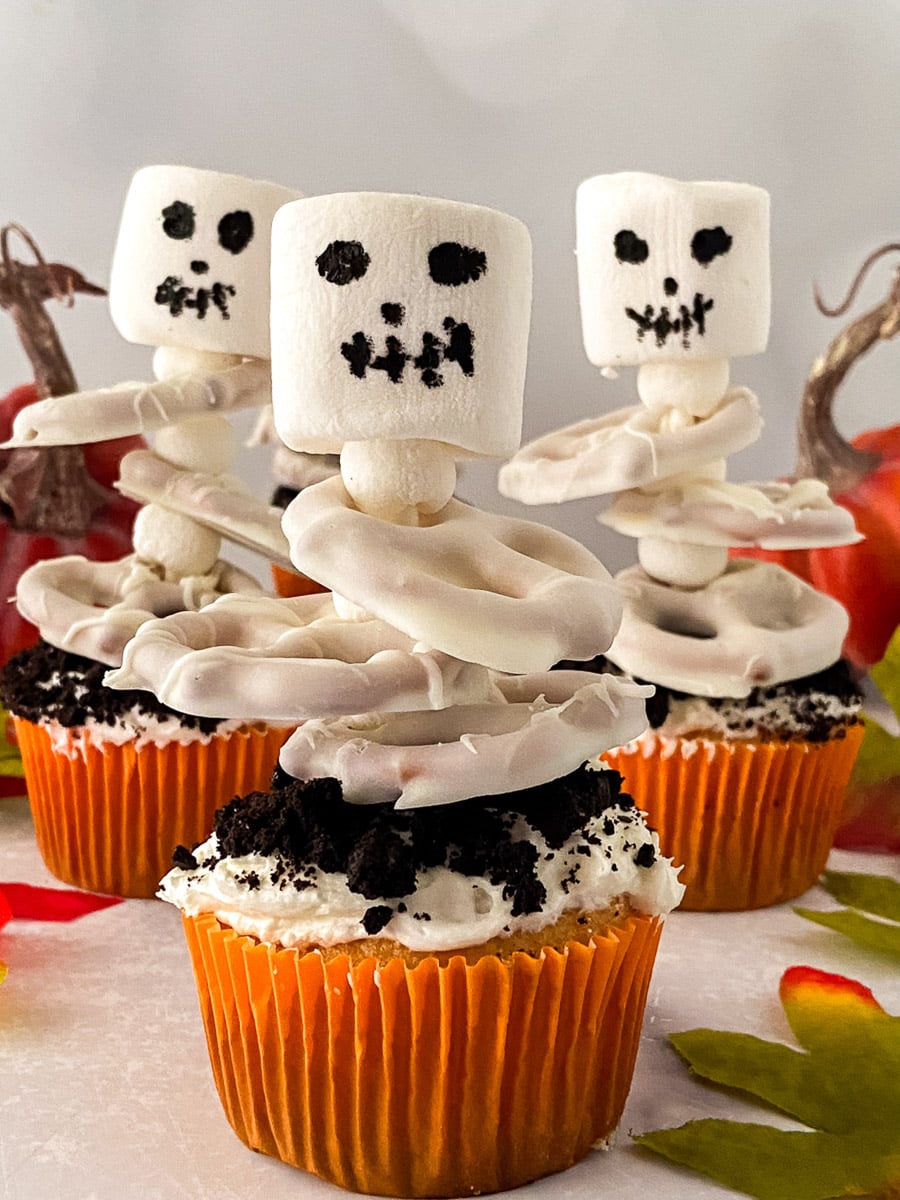
They look like they took all day, but you can bake and decorate a full batch in about an hour and a half, and in about 30 minutes if you start with store-bought cupcakes. The decorating is simple enough for kids to help with, which makes these a great project for a Halloween party, a classroom treat, or a spooky family baking night.
Key Ingredients & Substitutions
The full ingredient list and step-by-step instructions are in the recipe card below (along with a video), but here's what makes these cupcakes work and what you can swap:
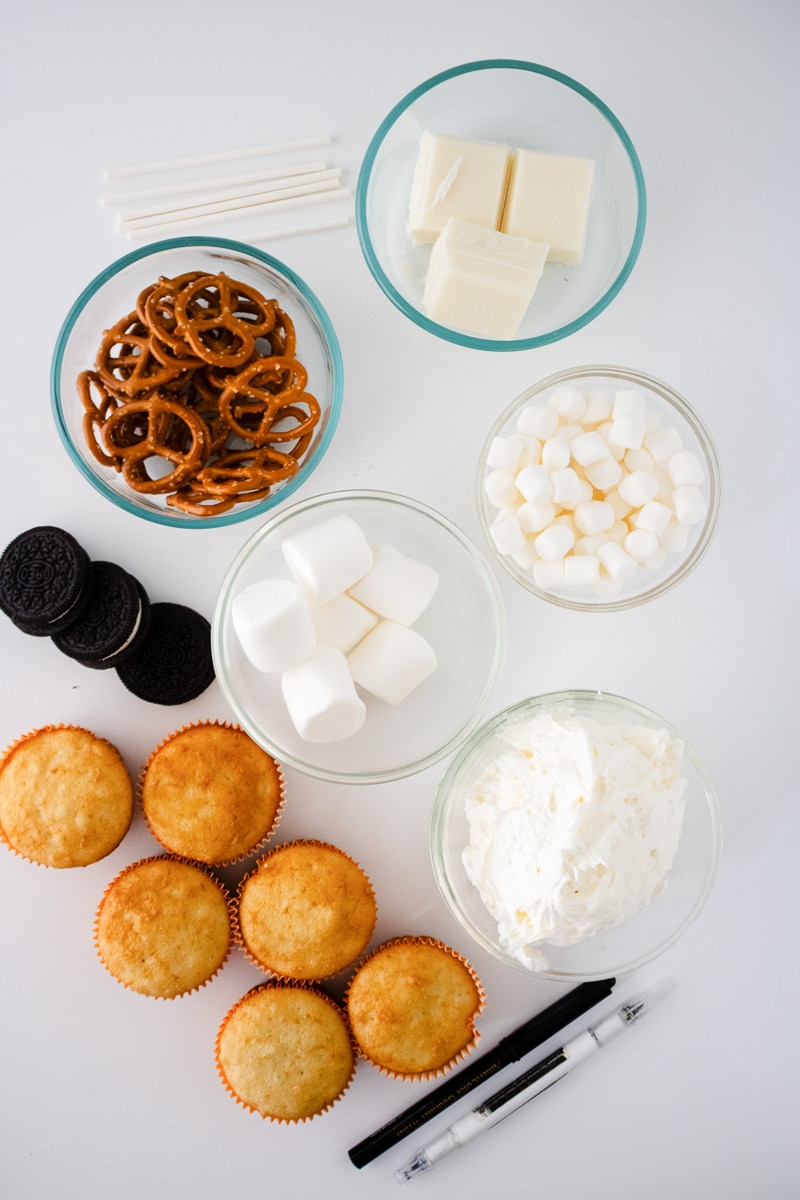
- Vanilla cupcakes. The homemade vanilla cupcakes in the recipe card are soft, buttery and sturdy enough to hold a skeleton. Chocolate cupcakes work just as well, and a boxed cake mix is a perfectly good shortcut.
- Vanilla frosting. A tub of store-bought vanilla frosting keeps things quick, but homemade buttercream (like the one in our White Cake with Buttercream Frosting) or our Easy Cream Cheese Frosting is even better.
- Oreo cookies. Scrape out the filling and crush the chocolate wafers into crumbs for the "dirt." You'll need about 15 Oreo cookies for 1 cup of crumbs. The leftover filling is just buttercream, so you can stir it right into your frosting. Any chocolate sandwich cookie or chocolate wafer cookie works here.
- White candy melts. These coat the pretzels to turn them into bones. Wilton Candy Melts set up fast and bright white, but white chocolate chips or almond bark will work too. White chocolate chips melt a little thicker, so stir in 1 teaspoon of coconut oil or shortening to thin them.
- Mini pretzels. Use the tiny mini twist pretzels for the ribcage, since regular-size pretzels are too big and heavy for the stick. Store-bought yogurt-covered pretzels are a handy shortcut if you'd rather skip the dipping.
- Marshmallows. You'll need 12 large marshmallows for the skulls and about 48 mini marshmallows to act as the spine between the pretzels. Fresh, soft marshmallows are easier to thread and draw on than stale ones.
- Food-safe marker. Only draw on the marshmallows with an edible-ink marker, such as this set of food coloring pens. Never use a regular marker. If you don't have one, dab on the eyes and mouth with a toothpick dipped in melted chocolate or black gel icing.
- Lollipop sticks. Lollipop or cake pop sticks are the "backbone" that holds the skeleton upright. Wooden skewers cut to about 6 inches also work, though they're a little harder to thread the pretzels onto.
Helpful Tips
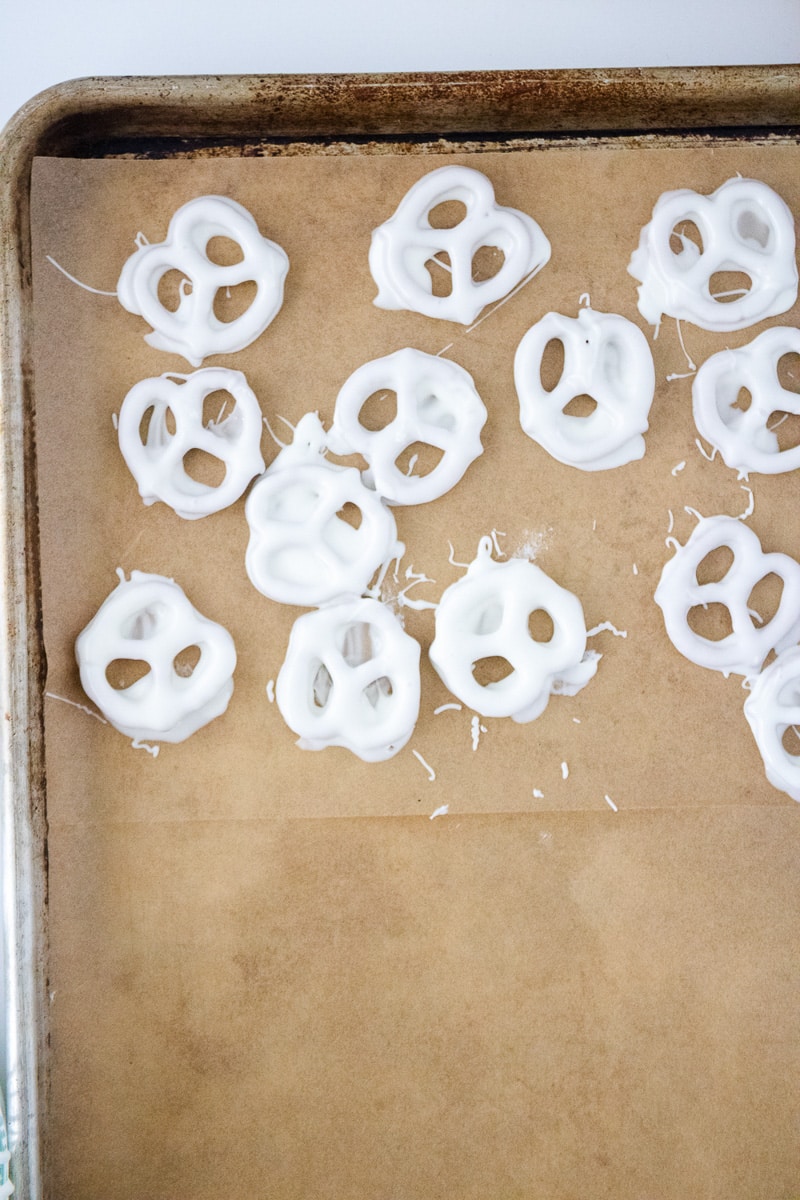
Melt the candy low and slow. Microwave the candy melts in 30-second bursts at half power and stir well between each one. Overheated candy melts turn thick and lumpy and won't coat the pretzels smoothly. Lift each pretzel out with a fork and tap off the extra coating before setting it on parchment paper. For thicker, whiter bones, let the first coat set and then dip them a second time.
Let the cupcakes cool completely. Warm cupcakes melt the frosting and the Oreo crumbs slide right off. Give them at least 30 minutes on a wire rack, or pop them in the fridge for 10 minutes if you're in a hurry.
Frost flat, then dip. Spread the frosting in a thick, even layer that reaches all the way to the edge of the liner, then press the top of each cupcake straight down into a bowl of crushed Oreos. A flat layer of "dirt" gives the skeleton a steady base and looks like a freshly dug grave. You can also just sprinkle the crumbs over the top.
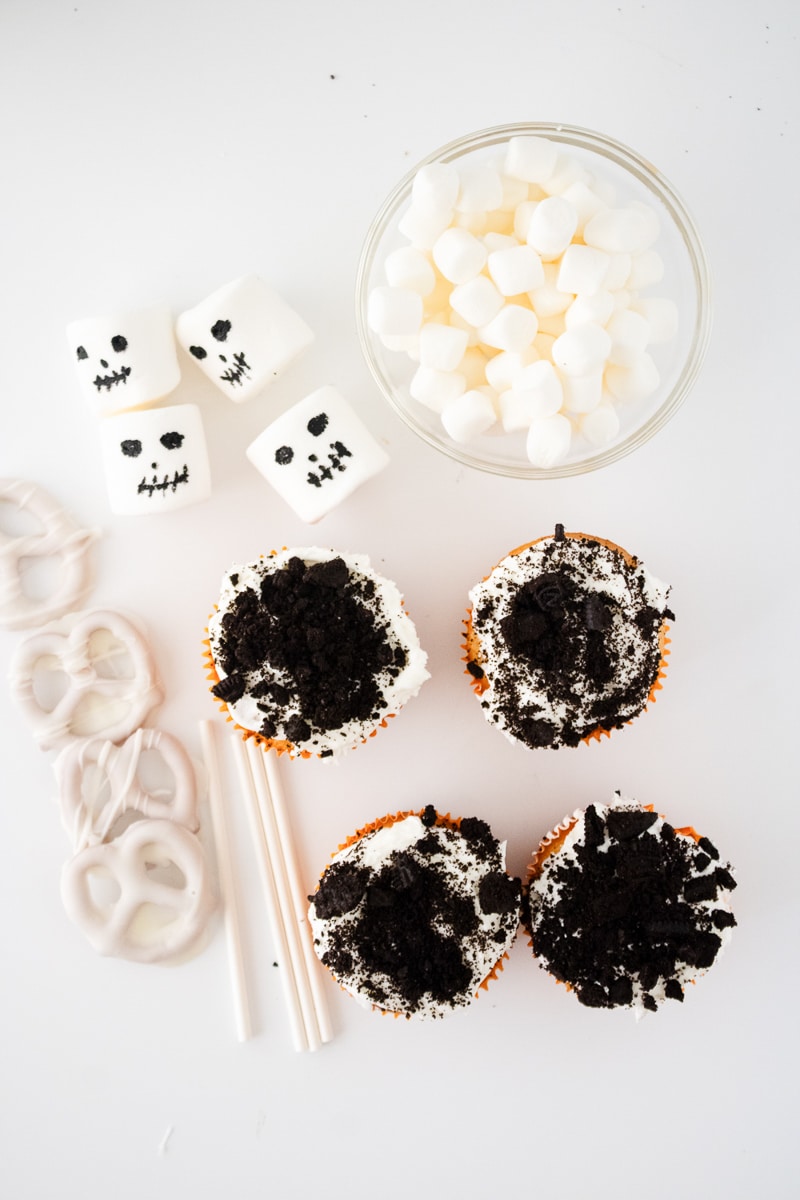
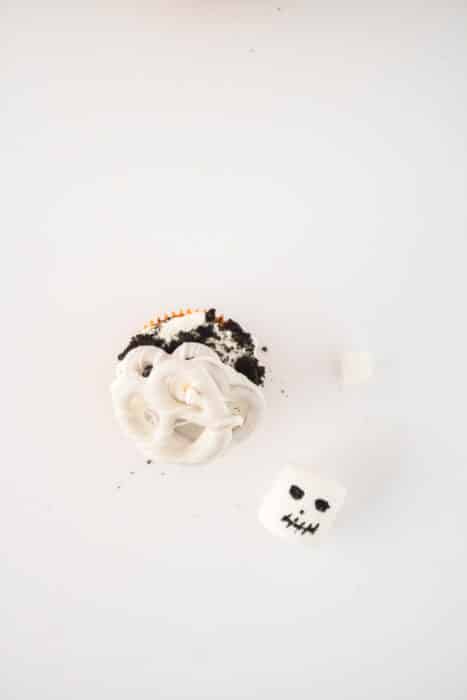
Give the faces time to dry. Draw two eyes and a stitched mouth on each large marshmallow and let them sit for a few minutes before handling, so the edible ink doesn't smear. Drawing on the flat end of the marshmallow gives you the cleanest lines.
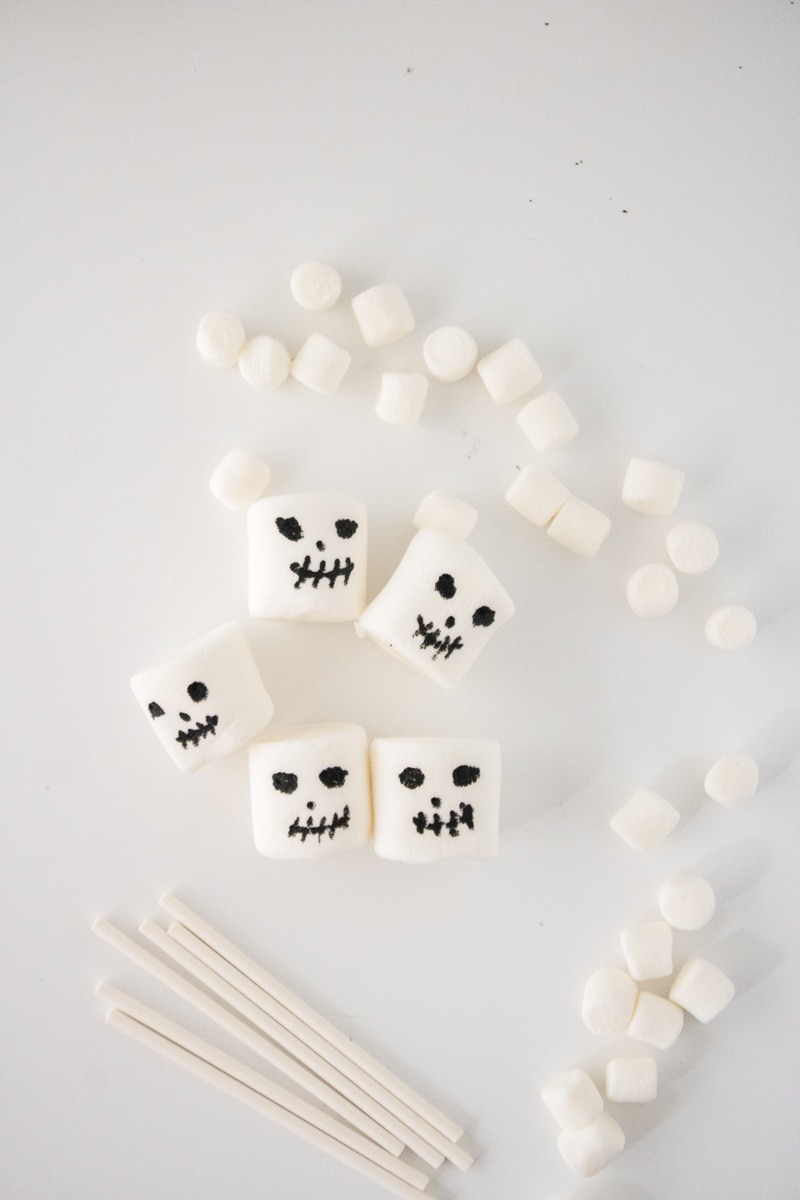
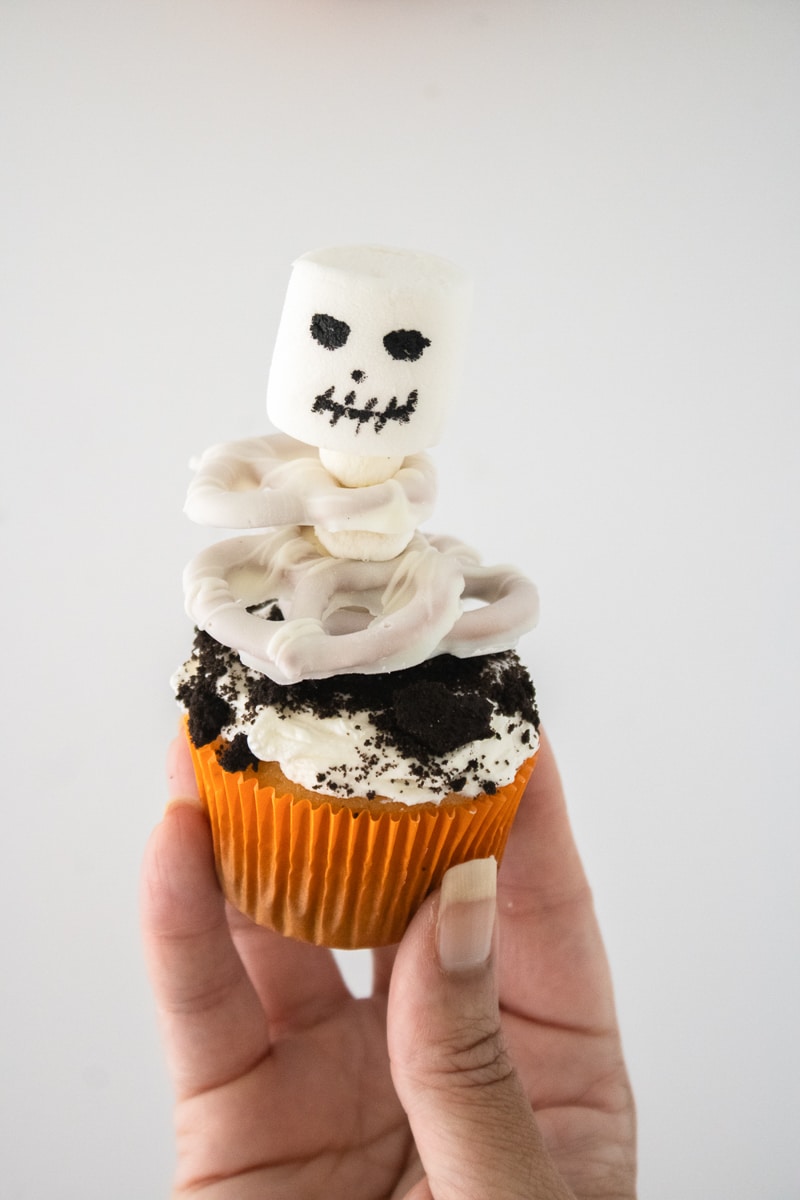
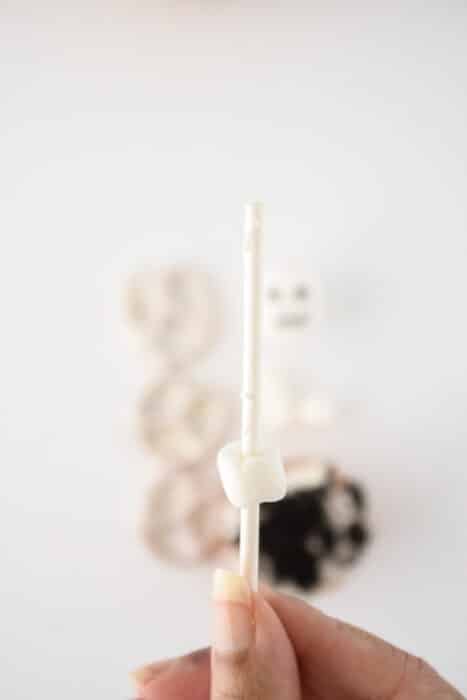
Build the skeleton in order. Push the lollipop stick about halfway into the center of the cupcake, then thread on a mini marshmallow, a pretzel, a mini marshmallow, a pretzel, a mini marshmallow, a pretzel and one last mini marshmallow. The mini marshmallows keep the pretzel "ribs" spaced out and in place. Finish with the skull on top.
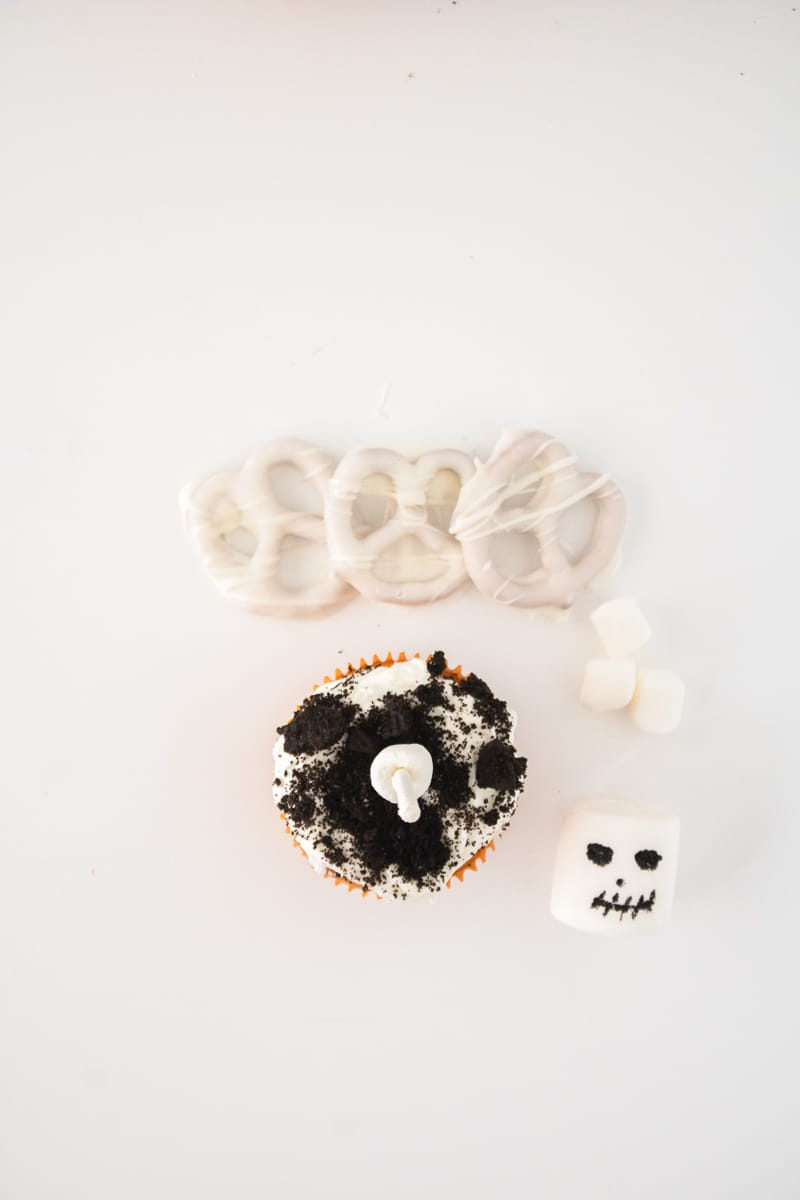
Make the parts ahead. The candy-coated pretzels and marshmallow skulls can be made a day or two early and kept in an airtight container at room temperature. On party day, all that's left is frosting, dipping and stacking.
Variations
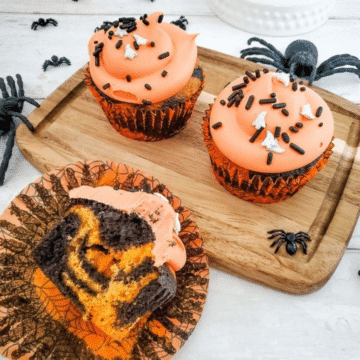
- Store-bought shortcut. Use a dozen bakery vanilla cupcakes and skip straight to the decorating. For even more no-fuss ideas, try our Crazy-Easy Halloween Cupcakes.
- Chocolate skeletons. Bake chocolate cupcakes and use chocolate frosting under the Oreo dirt for a darker, richer version.
- Frankenstein cupcakes. Dip the pretzels in green candy melts and draw on the face with the green and black pens from an edible marker set for a friendly monster.
- Ghost cupcakes. Skip the pretzels and top each cupcake with a single large marshmallow ghost on a short stick, with a spooky ghost face drawn on in edible marker.
- Pumpkin spice base. Add 1 teaspoon of pumpkin pie spice to the dry ingredients for a cozy fall flavor under all that spooky decorating.
- Graveyard cupcakes. Tuck a small cookie "tombstone" (half a chocolate-dipped vanilla wafer) next to each skeleton so it looks like it's climbing out of the grave.
Serving Ideas
Line these cupcakes up on a cake stand or tray with a few mini pumpkins and fall leaves scattered around, and they double as a Halloween centerpiece. They're a natural fit for class parties, trunk-or-treat nights and costume parties, since each one is a ready-made single serving that kids can grab and go.
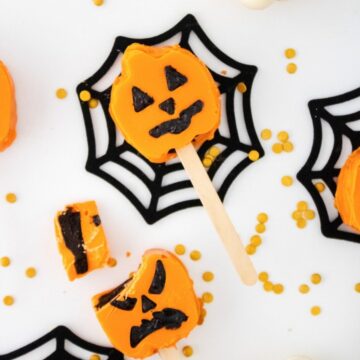
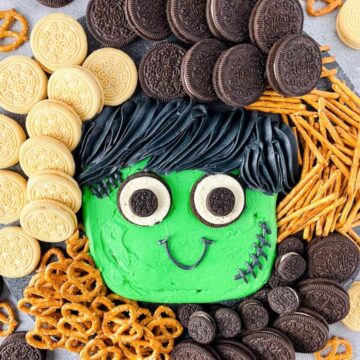
To build out a full Halloween dessert spread, serve them alongside our Halloween Pumpkin Cake Pops, a pan of Easy Pumpkin Bars and a Halloween Buttercream Board for dipping. A glass of cold milk or a mug of hot apple cider is the perfect partner.
Storing & Freezing
Assembled skeleton cupcakes are best the day they're made, while the pretzels are still crisp. Keep them in an airtight container at room temperature for up to 1 day, or in the refrigerator for up to 3 days if your frosting contains cream cheese. The pretzels will slowly soften in the fridge, so if you're working ahead, store the frosted cupcakes, coated pretzels and marshmallow skulls separately and assemble the skeletons shortly before serving.
The unfrosted cupcakes freeze beautifully. Wrap them individually in plastic wrap, place them in a freezer bag and freeze for up to 3 months, then thaw at room temperature for about an hour before frosting and decorating. We don't recommend freezing the fully decorated cupcakes, because the marshmallows get sticky and the candy-coated pretzels go soft as they thaw.
More Halloween Treats
If you loved these Halloween Skeleton Cupcakes, here are a few more spooky-season treats you might enjoy:
- Crazy-Easy Halloween Cupcakes
- Halloween Pumpkin Cake Pops
- Easy Pumpkin Bars
- The Best Pumpkin Desserts
Recipe
Halloween Skeleton Cupcakes
Ingredients
For the Cupcakes:
- 1 ½ cups all-purpose flour
- 1 ½ teaspoon baking powder
- ¼ teaspoon salt
- ½ cup unsalted butter softened
- 1 cup sugar
- 2 large eggs
- 2 teaspoon pure vanilla extract
- ½ cup whole milk
Supply List:
- 2 cups Vanilla Frosting store-bought or homemade
- 1 cup crushed Oreo Cookies about 15 cookies, filling removed and cookies crushed
- 12 large Marshmallows
- 1 black food safe marker edible ink
- 12 lollipop sticks
- 48 mini marshmallows
- 36 mini pretzels
- 12 oz white candy melts
- Parchment Paper
Instructions
To Make the Cupcakes:
- Preheat your oven to 350°F (175°C). Line a 12-cup muffin tin with cupcake liners.
- In a medium bowl, whisk together the flour, baking powder and salt. Set aside.
- In a stand mixer (or with a hand mixer), beat the softened butter and sugar together on medium speed until light and fluffy, about 2 to 3 minutes.
- Add the eggs one at a time, beating well after each addition. Mix in the milk and vanilla extract.
- With the mixer on low speed, slowly add the dry ingredients to the wet ingredients and mix just until combined. Don't overmix.
- Divide the batter evenly among the cupcake liners, filling each about two-thirds full.
- Bake for 18 to 22 minutes, until a toothpick inserted into the center of a cupcake comes out clean or with just a few crumbs.
- Let the cupcakes cool in the pan for 5 minutes, then transfer them to a wire rack and let them cool completely, about 30 minutes, before frosting.
To Make the Skeleton Decorations:
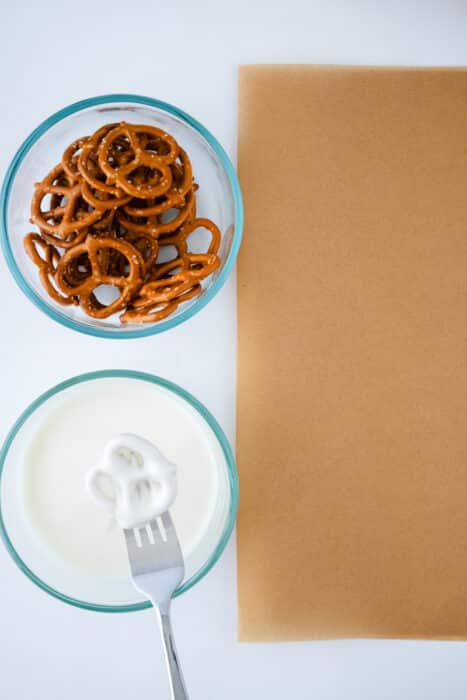
- Place the white candy melts in a microwave-safe bowl and microwave at 50% power in 30-second increments, stirring after each, until smooth and fully melted.

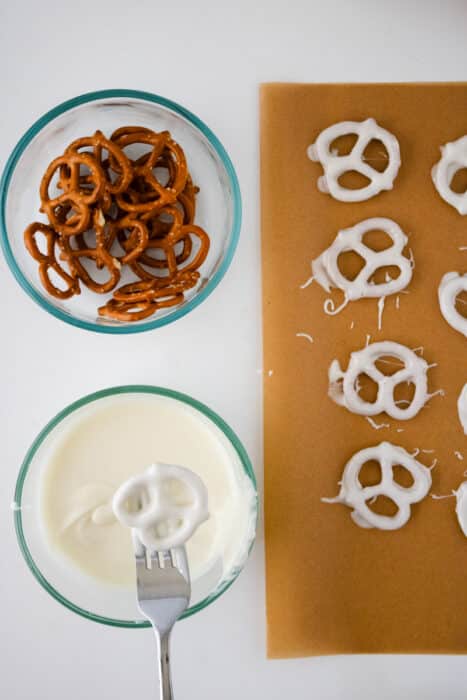
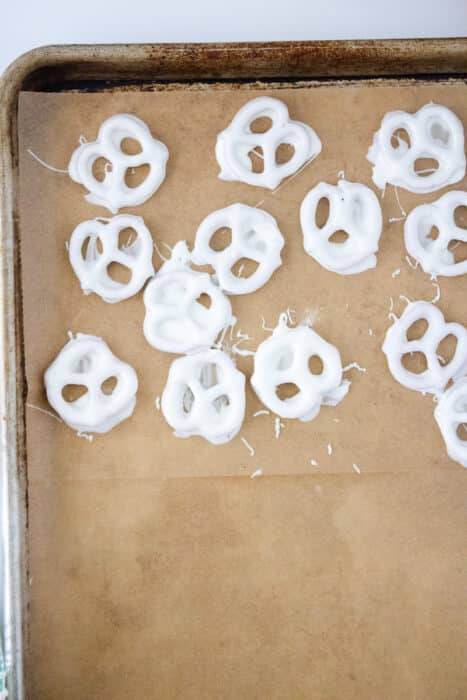
- Dip the mini pretzels into the melted candy one at a time, using a fork to lift them out and tap off the excess coating. Place the coated pretzels on a sheet of parchment paper to set, about 10 minutes.
- For a thicker, whiter coating, let the pretzels set and then dip them a second time.
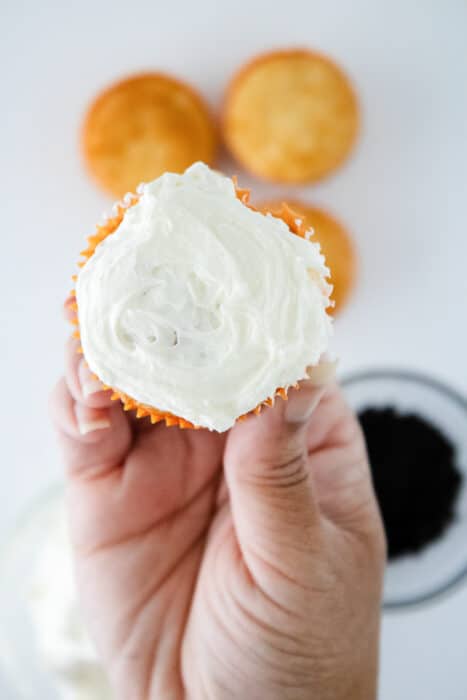
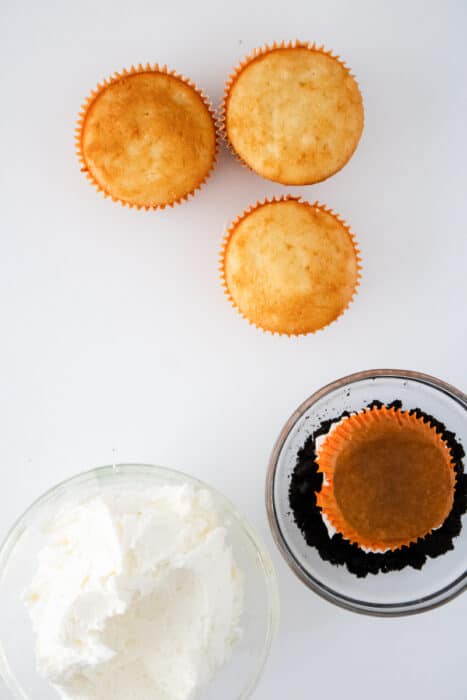
- Add a spoonful of frosting to the top of each cooled cupcake and spread it into a thick, even layer that reaches the edge of the liner.
- Dip the top of each frosted cupcake into the crushed Oreos (or sprinkle the crumbs over the frosting) to create the "dirt."
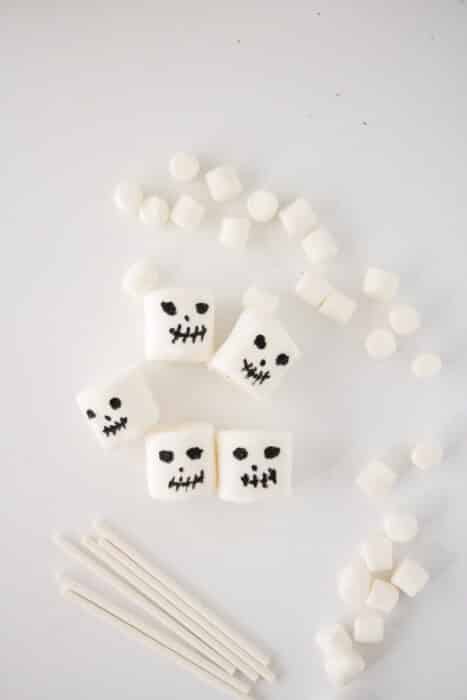
- Use the food-safe marker to draw two eyes and a mouth on the flat end of each large marshmallow. Set them aside for a few minutes to dry.
- Insert a lollipop stick about halfway down into the center of each cupcake. Slide one mini marshmallow onto the stick.
- Thread on a candy-coated pretzel, then another mini marshmallow. Repeat until each stick holds three pretzels and four mini marshmallows, ending with a mini marshmallow.
- Top each skeleton with a marshmallow skull, pressing it gently onto the stick. Repeat with the remaining cupcakes and serve.

Video
Notes
- You can mix the filling scraped from the Oreos into your frosting if you wish, since it's simply buttercream. You'll need about 15 Oreos for 1 cup of crumbs.
- For a quick and easy treat, use 12 store-bought vanilla cupcakes and simply follow the decorating instructions to add your skeletons.
- Only draw on the marshmallows with an edible-ink, food-safe marker.
- The candy-coated pretzels and marshmallow skulls can be made 1 to 2 days ahead and stored airtight at room temperature. Assemble the skeletons the day you serve them so the pretzels stay crisp.
- Store assembled cupcakes airtight at room temperature for up to 1 day. Unfrosted cupcakes can be frozen for up to 3 months.
Nutrition
Nutrition details are an estimate, per serving.
Leave a Comment