
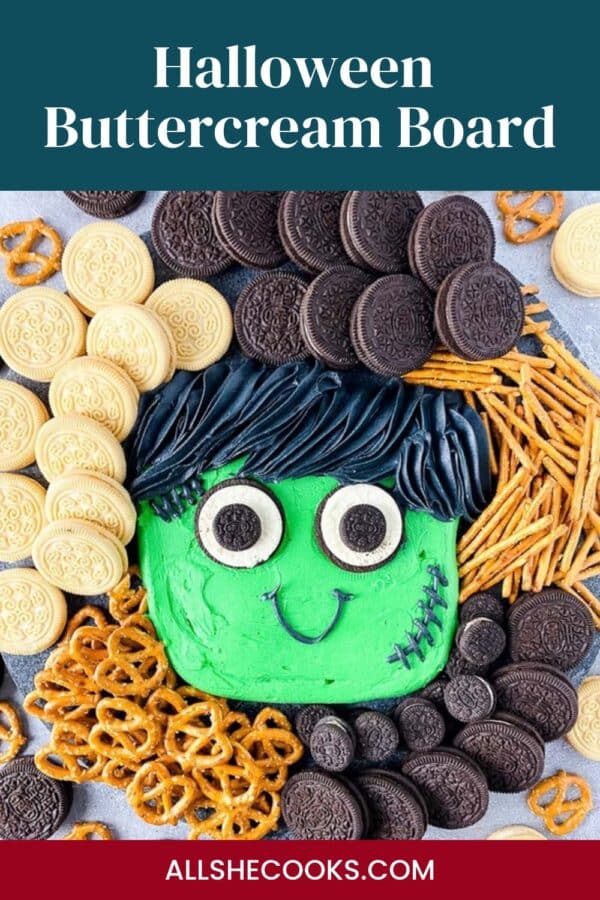
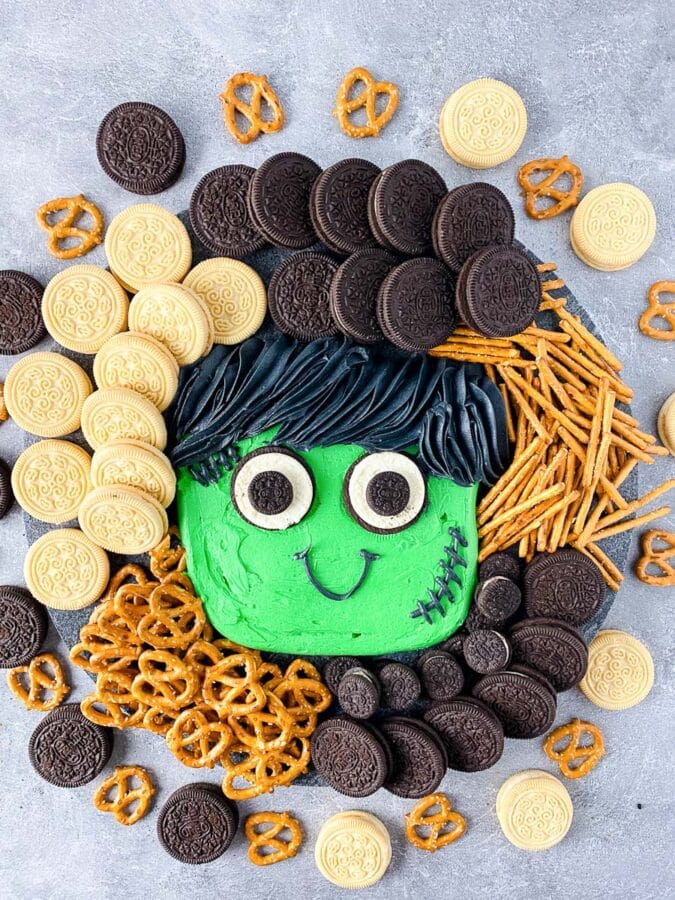
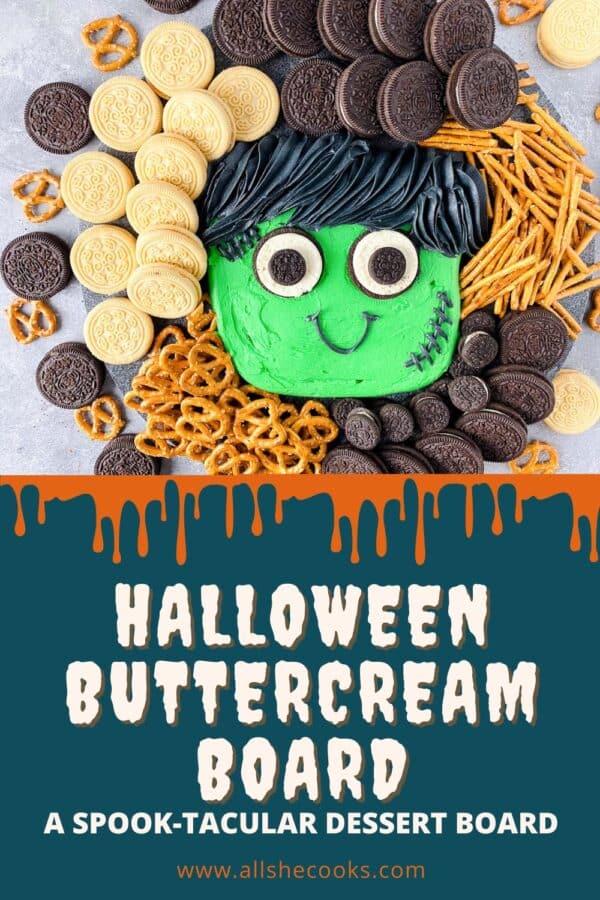
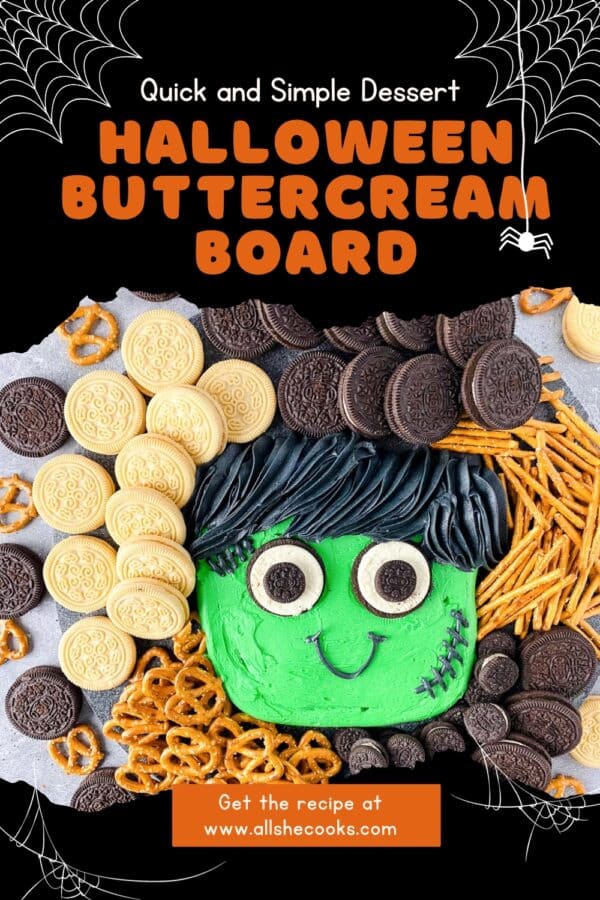
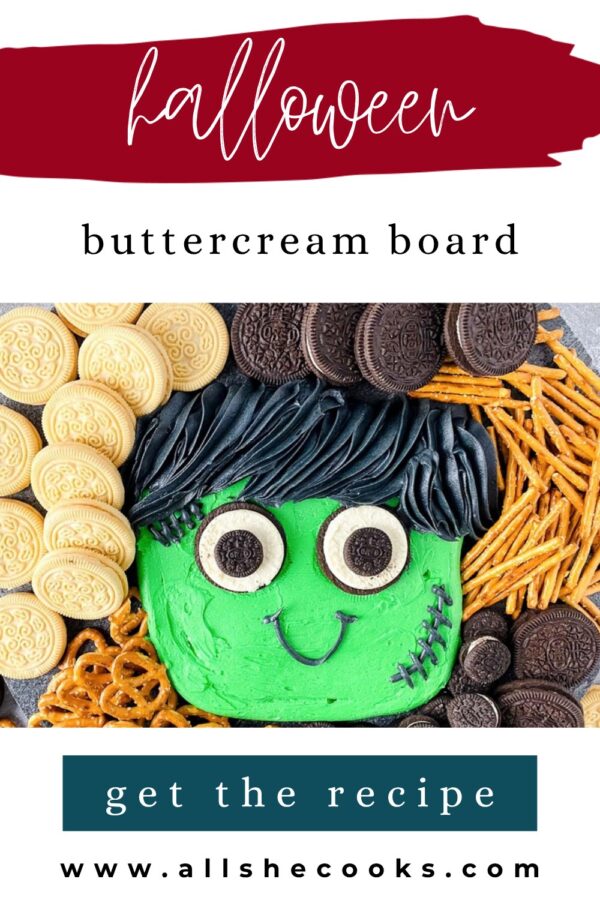
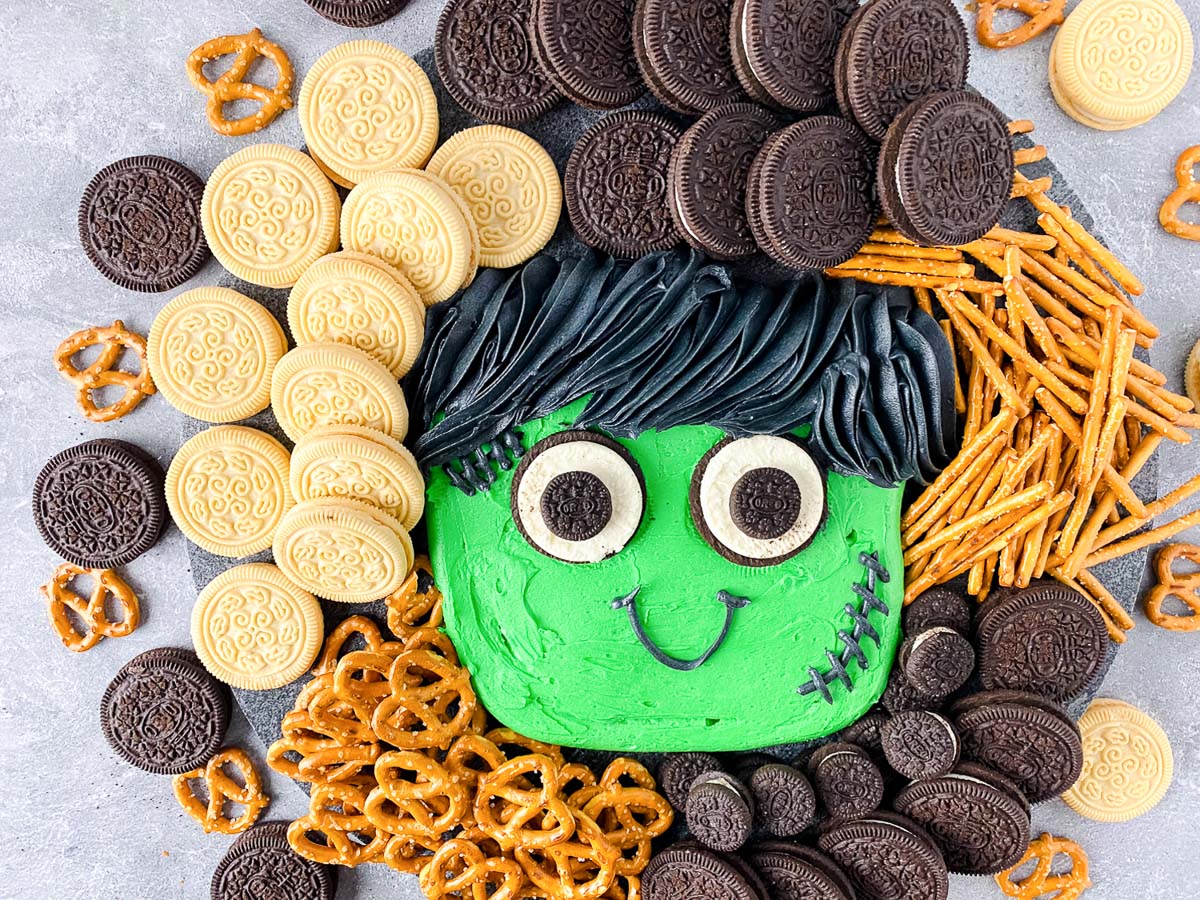
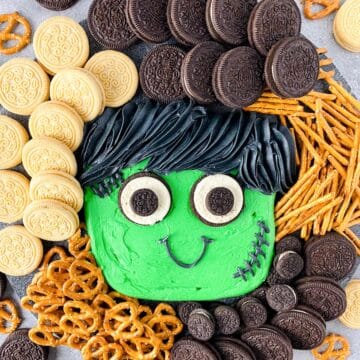
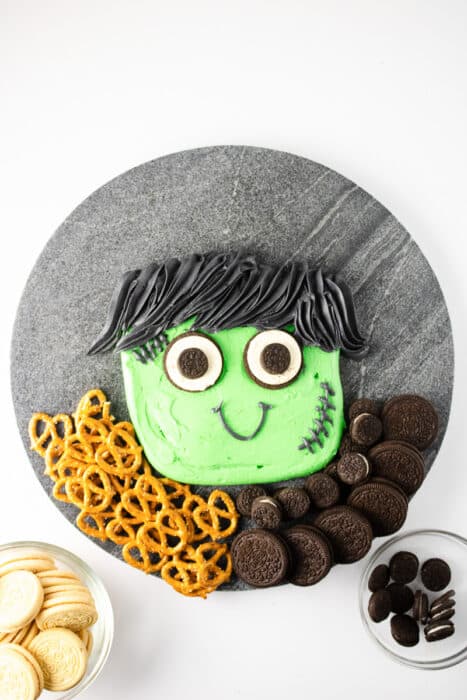
This Halloween Buttercream Board is a monstrously fun no-bake dessert: a cheeky Frankenstein face piped from green and black buttercream, surrounded by cookies and pretzels for dipping. It takes about 20 minutes, needs zero baking, and always steals the show at a Halloween party.
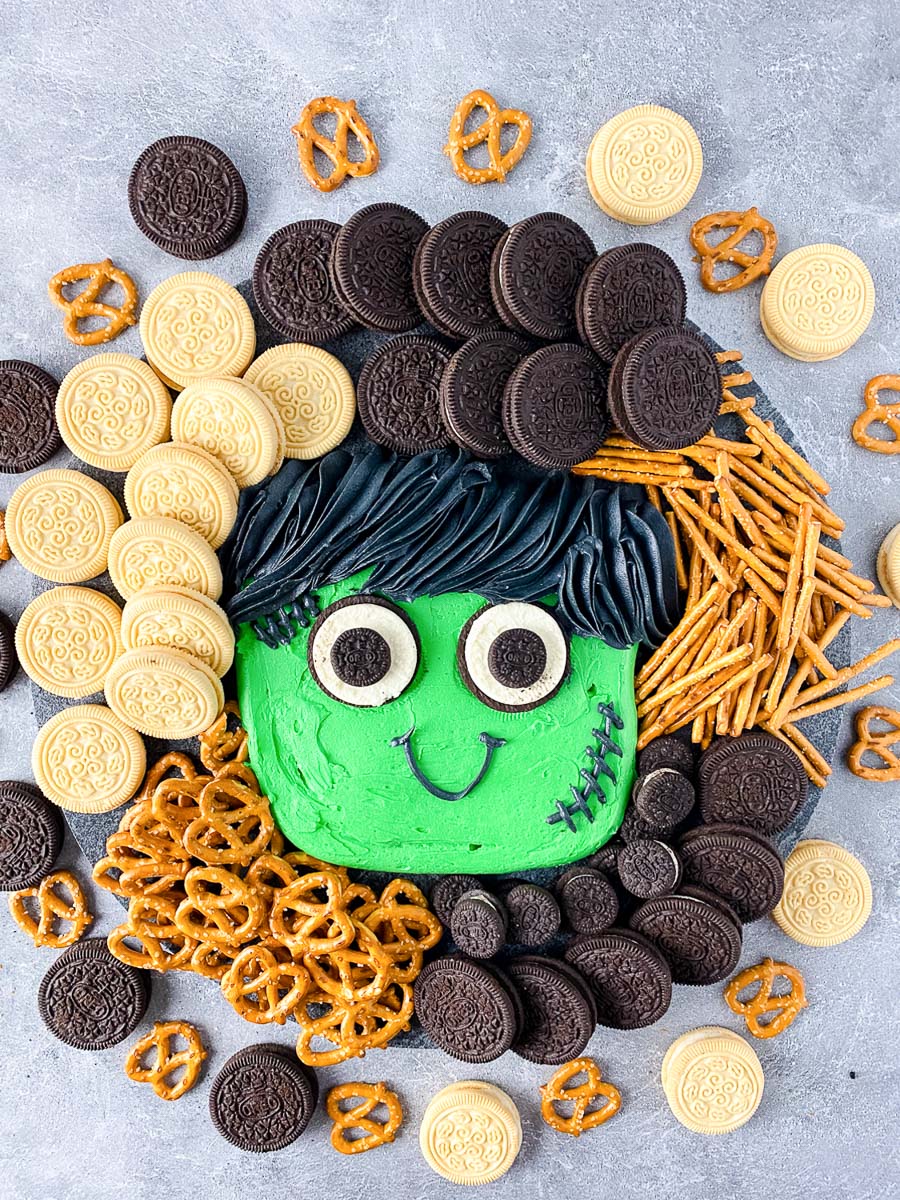
I love the trend of serving frosting boards as a dessert. I love it almost as much as my hot chocolate charcuterie board. 😉 It's so much fun and super easy to adapt to all kinds of holidays and special occasions (I also make a Christmas Santa Hat Buttercream Board every December), so of course I had to try my hand at creating one for Halloween! This Halloween dessert board is almost too cute to eat. Almost.
What Is a Buttercream Board?
Oh, so you've never heard of a buttercream board? Well, it's pretty much exactly what it sounds like: a dessert board made from a delicious swoosh of buttercream frosting, surrounded by tasty little morsels that you can dip into it!
Sound a bit crazy? Perhaps. But you can't argue with delicious. They're super fun to make and even more fun to eat, which makes them perfect for entertaining a crowd. Everyone grabs a cookie or pretzel, swipes up some frosting, and the Frankenstein slowly disappears over the course of the party.
Key Ingredients & Substitutions
- Vanilla buttercream frosting. You'll need about 3 cups. Homemade buttercream (like the frosting on this white cake with buttercream frosting) pipes and tints beautifully, but two 16-ounce tubs of store-bought vanilla frosting work just fine and save a lot of time. Choose a white or vanilla frosting so the colors come out bright.
- Gel food coloring. I used leaf green for the face and black for the hair, mouth and stitches. Gel colors give you rich color without thinning the frosting; this Wilton gel food coloring set includes black and a bright kelly green that works perfectly here. Liquid grocery-store food coloring will make the frosting runny and won't get you to a true black.
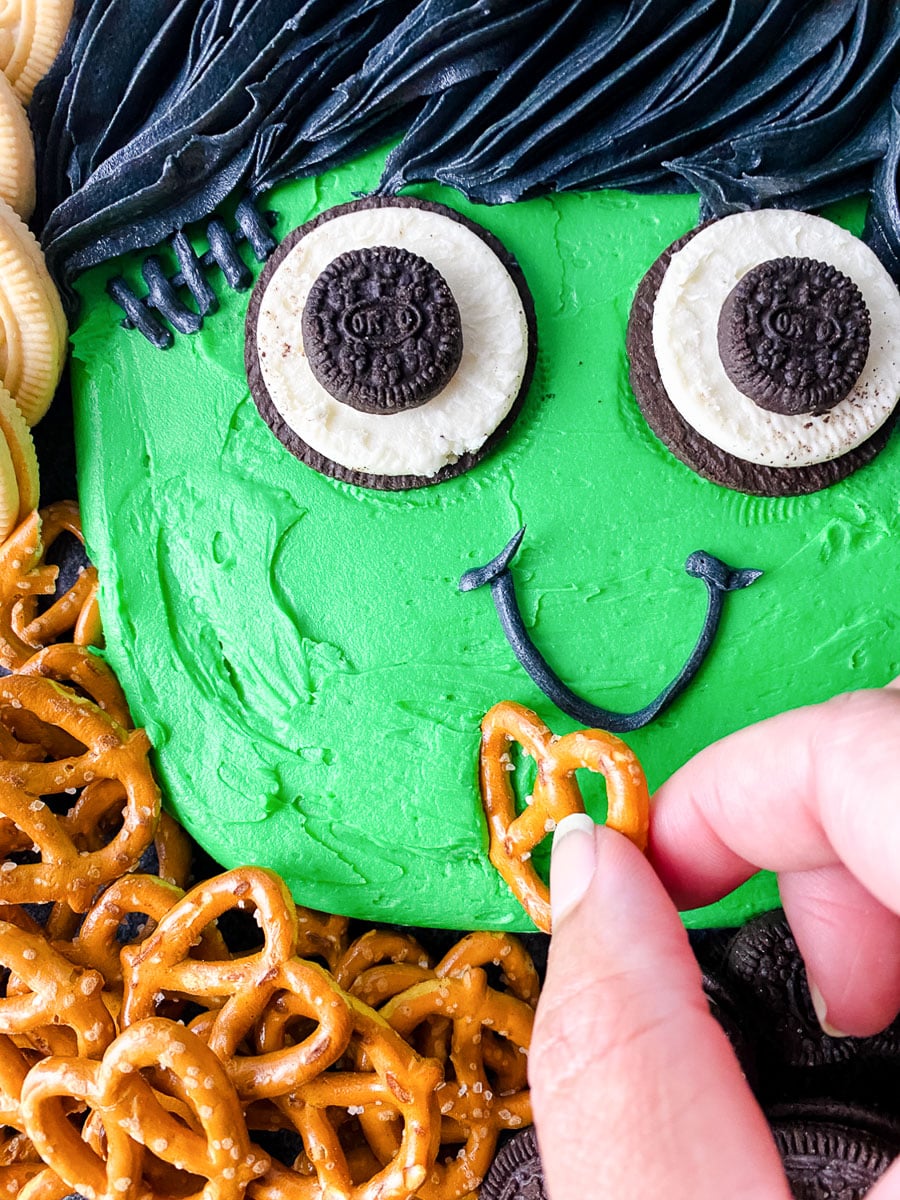
- Chocolate sandwich cookies. Regular-size cookies become Frankenstein's eyes (split them and use the cream side), mini cookies become the pupils, and the rest go around the board for dipping. Any brand works, including gluten-free sandwich cookies.
- Vanilla sandwich cookies. Golden sandwich cookies add a pop of contrast next to the chocolate ones. Swap in vanilla wafers or shortbread if you prefer.
- Mini pretzels and pretzel sticks. The salty crunch is the perfect foil to all that sweet frosting. Pretzel rods, pretzel crisps or chocolate-covered pretzels all work too.
Tools: you'll need three piping bags (disposable piping bags make cleanup a breeze), a Wilton 1A round tip for the face, a Wilton 2D star tip for the hair, and an offset spatula for smoothing. A large cutting board, platter or even a parchment-lined baking sheet makes a great serving surface.
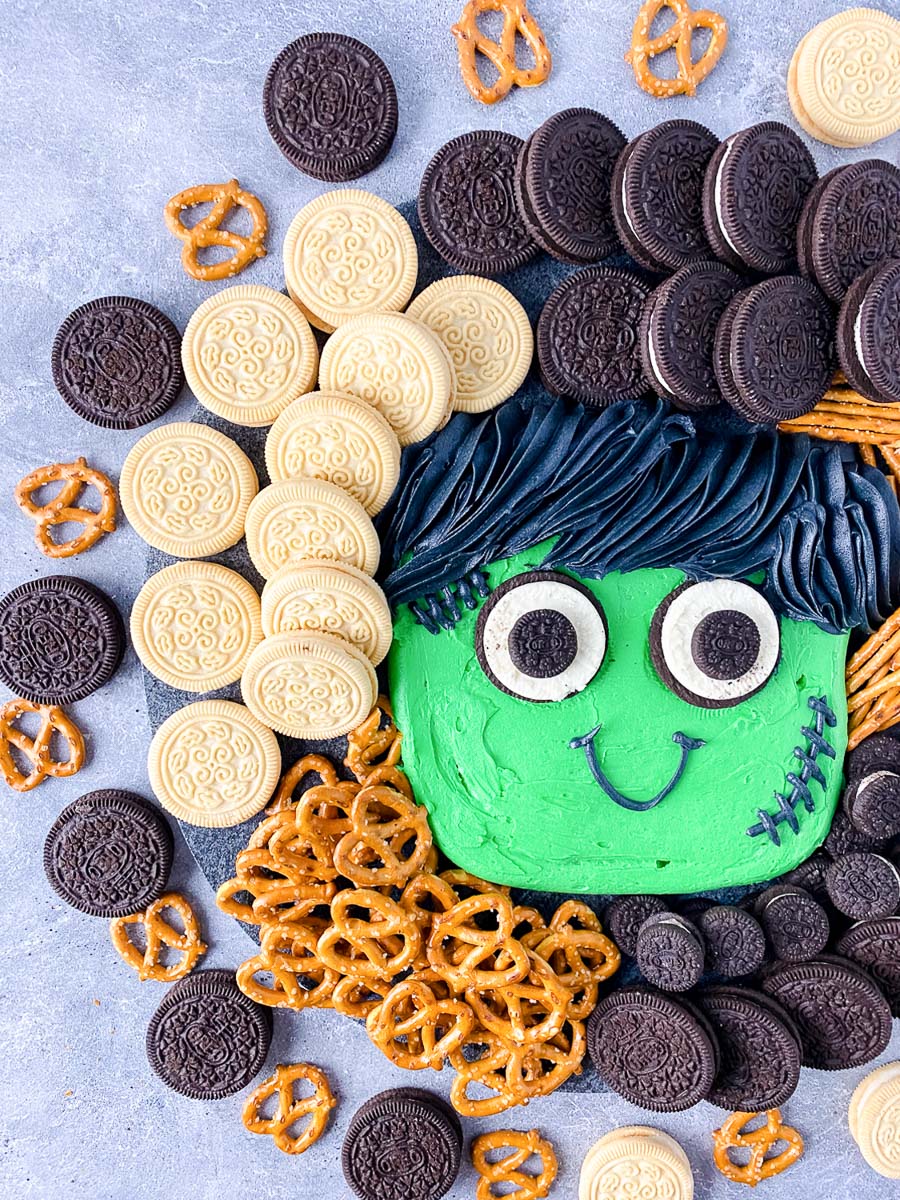
How to Make the Frankenstein Buttercream Board, Step by Step
If you're anything like me, you're going to need step-by-step instructions to make that Frankenstein face, so here we go! (The full printable recipe is in the card below.)
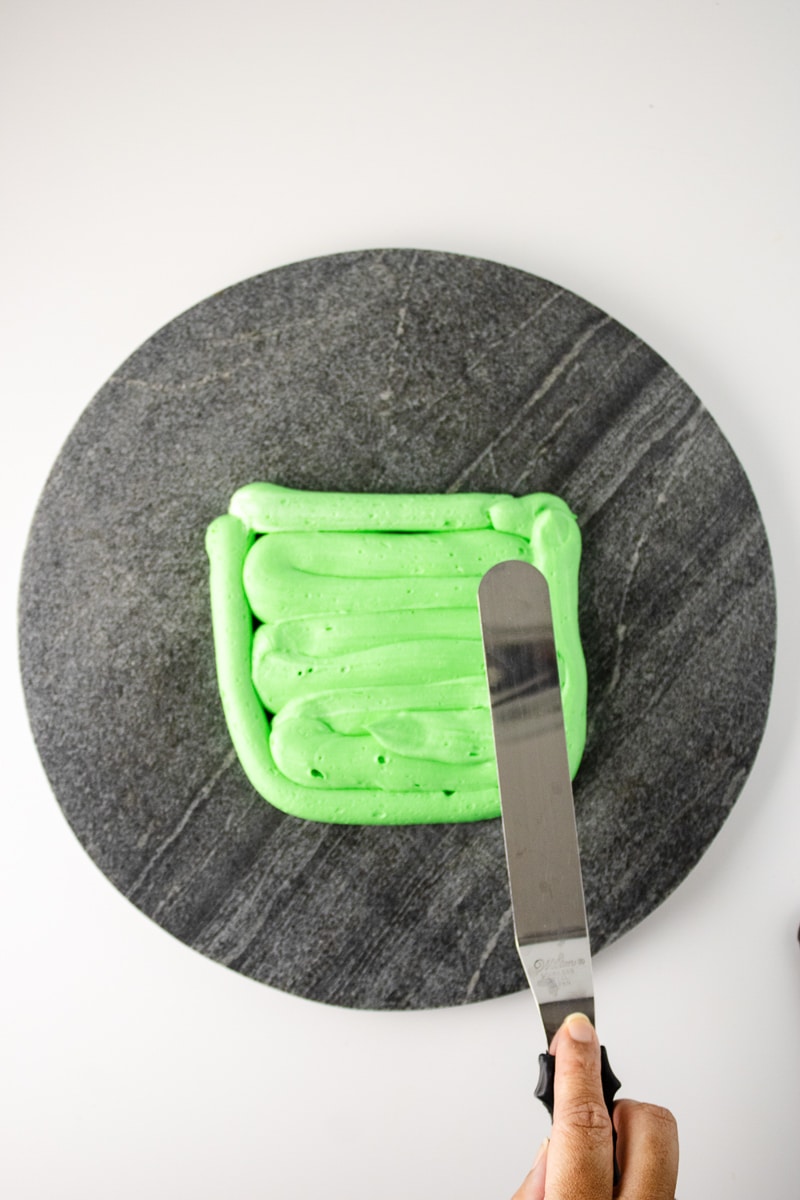
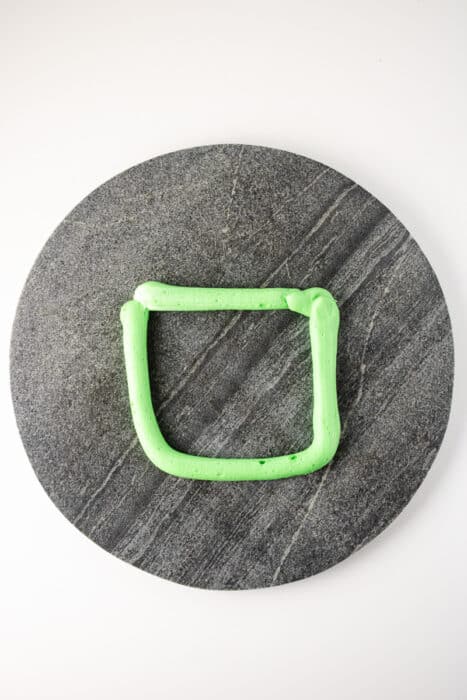
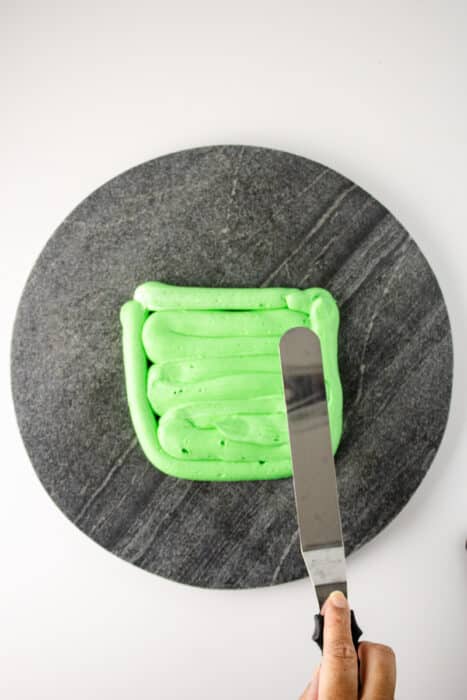
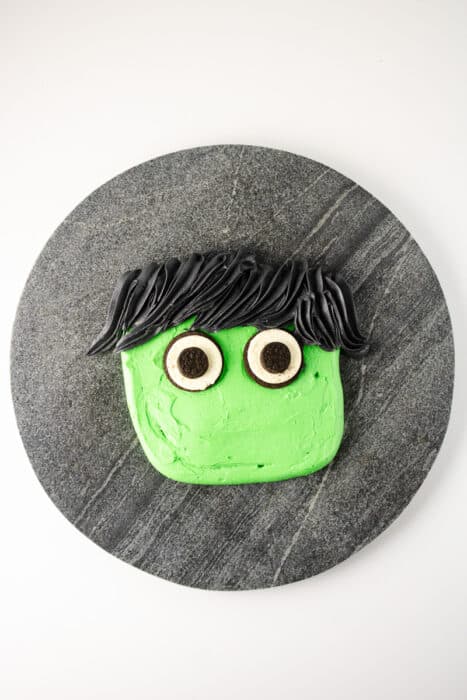
Tint and pipe the face. Start by dyeing all of your white frosting green. Don't worry, we'll turn some of it black at the end for the hair! Fill a piping bag fitted with a 1A tip (that's a large round tip), then draw the outline of the Frankenstein face, a rounded square, on your board. Fill in the face as evenly as you can by piping back and forth in lines. It's like coloring! Use your offset spatula to smooth out the frosting.
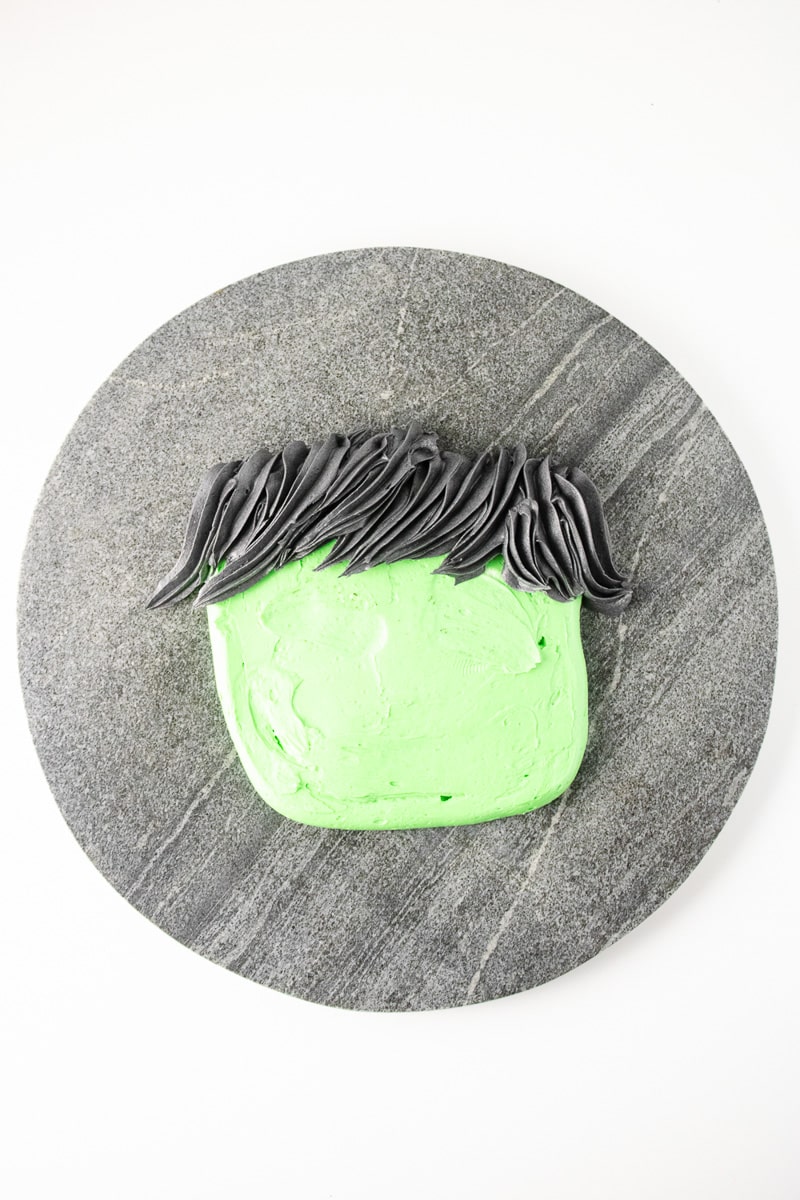
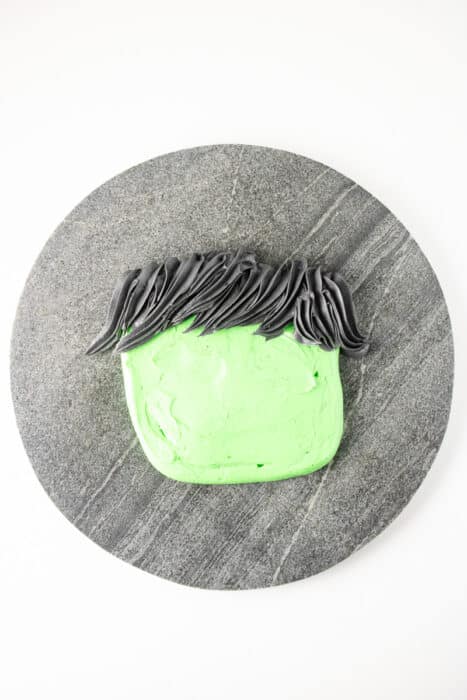
Add the hair. Now dye the remaining frosting black by mixing in the black gel coloring. Add it to a fresh piping bag with a 2D tip (that's a large star-shaped tip) and pipe on the hair, holding the tip slightly above the board so it doesn't scrape against the green frosting as you work.
Make the eyes. Twist apart two regular sandwich cookies and place the cream-side halves on the face as the eyes. Then press a mini sandwich cookie into the center of each one for the pupils.
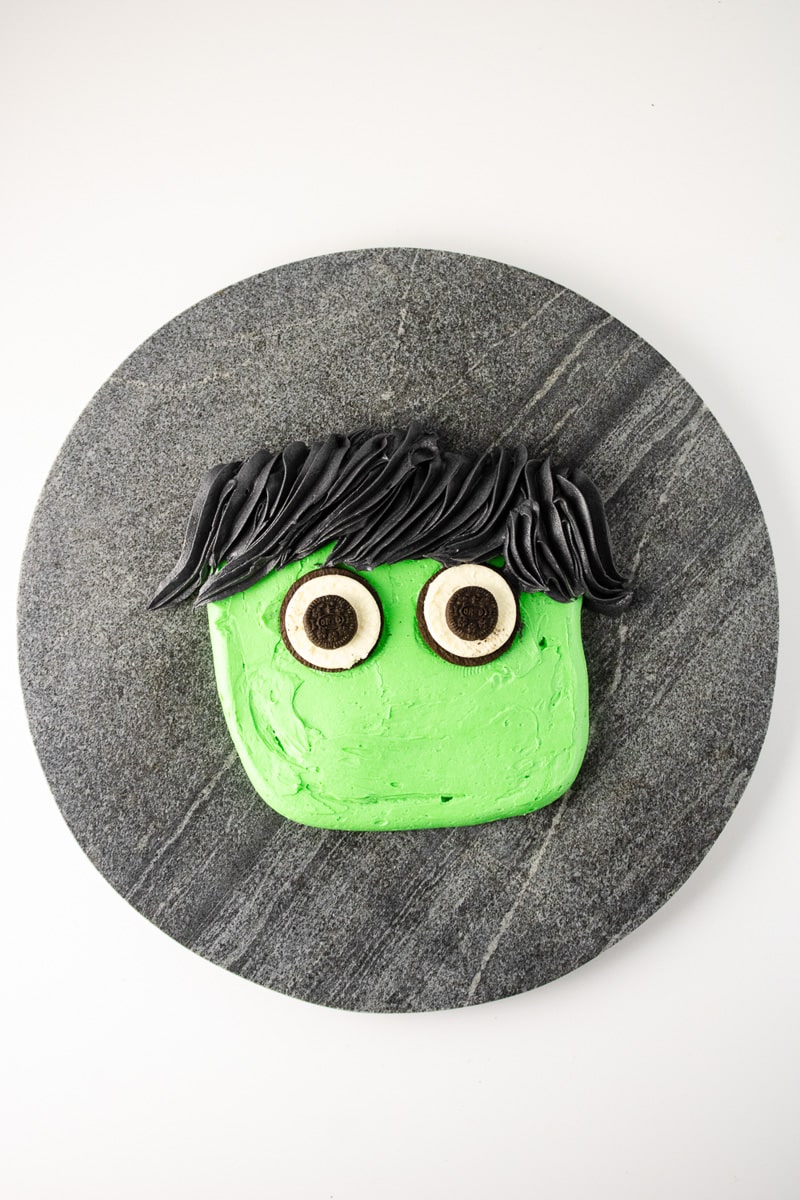
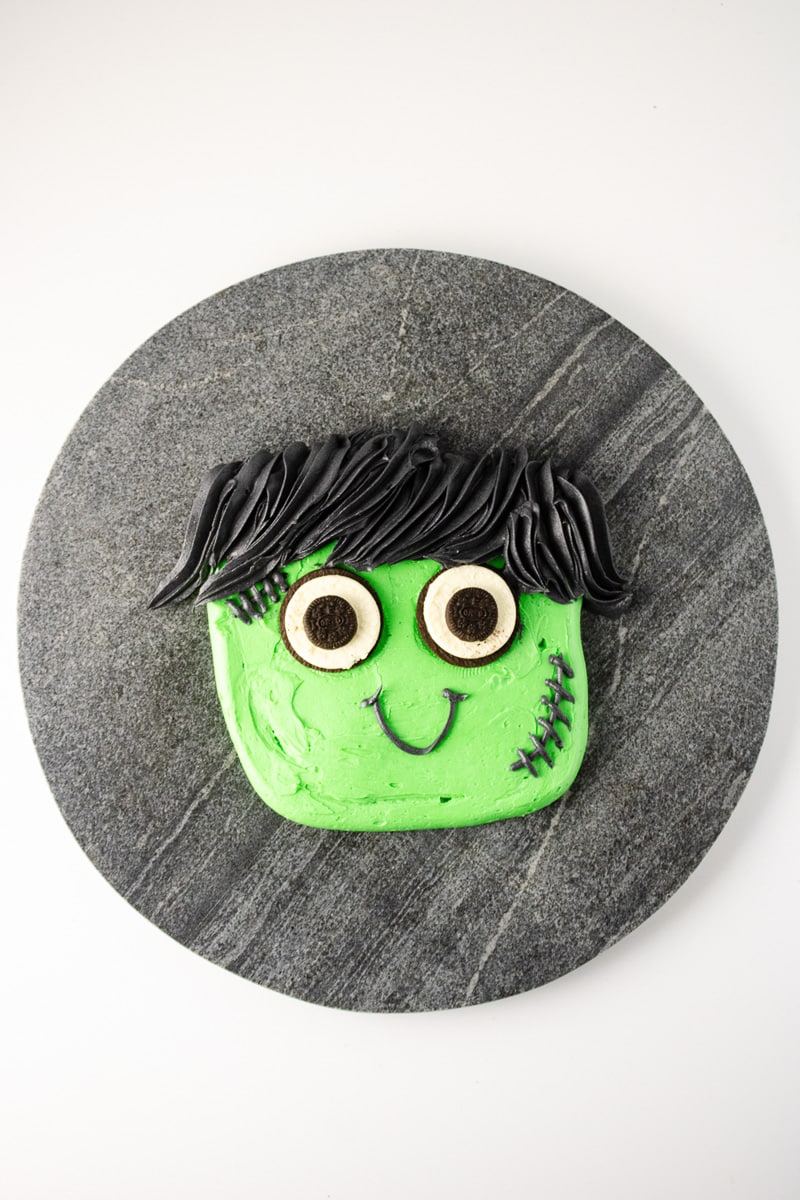
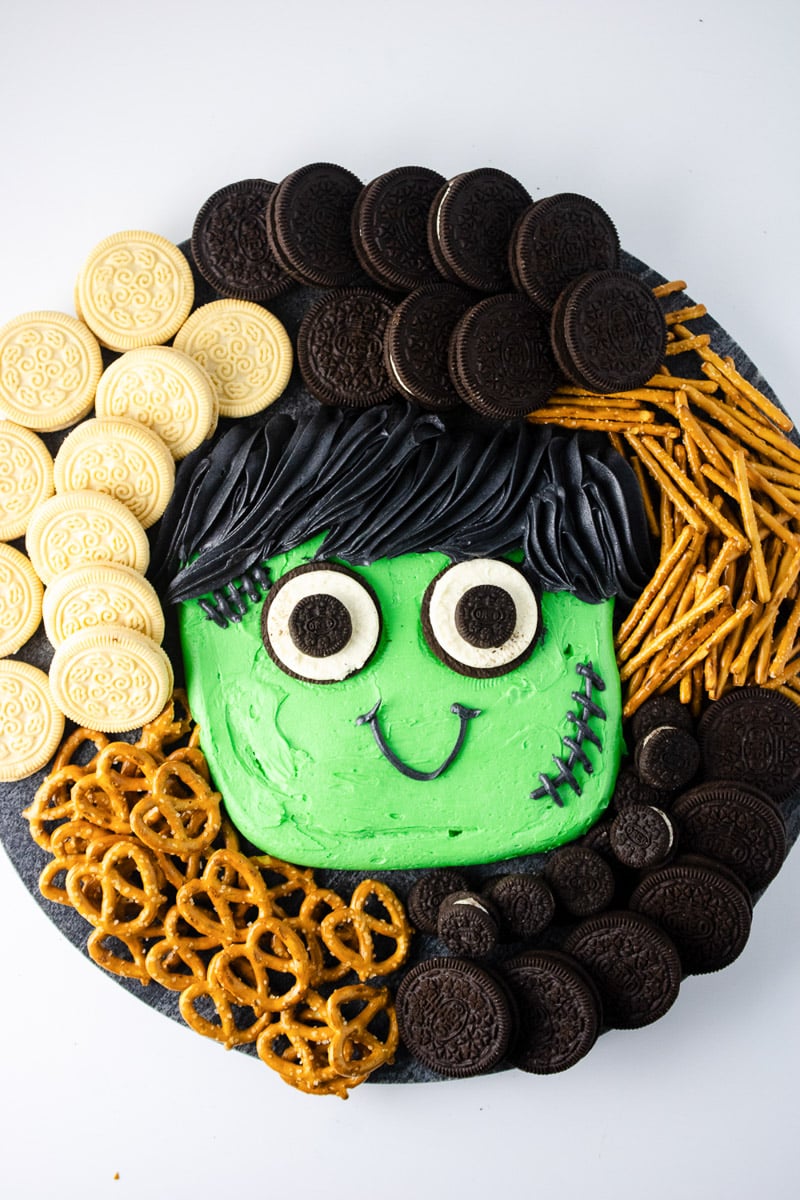
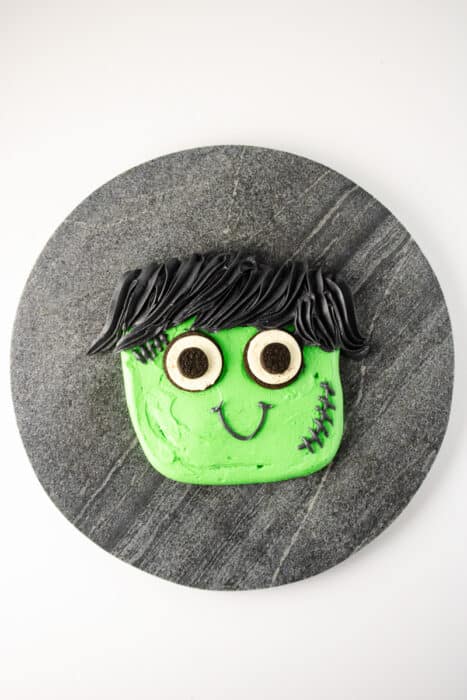
Pipe the details. Put the remaining black frosting into a third piping bag and snip off a very small opening. Pipe on the mouth and a scar with stitches to complete the whole Frankenstein look. Finally, layer the cookies, pretzels and any other favorite dippers all around the face.
Helpful Tips
Don't make it too far in advance. Buttercream forms a crust and starts to firm up when it sits out, so assemble the board no more than 1 to 2 hours before your Halloween party. The frosting will still be soft and scoopable when guests start dipping.
Deepen the black the easy way. Getting true black frosting can take a lot of coloring. Start with a small portion of frosting, mix in the gel, and let it rest for 20 to 30 minutes, since black darkens as it sits. Stirring a spoonful of cocoa powder into the frosting first also gives you a head start and means you need less dye.
Chill the frosting if it gets soft. If your kitchen is warm and the frosting starts to slump or lose its shape while piping, pop the piping bag in the fridge for 10 minutes. Firmer frosting gives you cleaner hair and sharper stitches.
Sketch the outline first. If you're nervous about freehanding the face, lightly trace the shape on parchment or the board with a toothpick before you pipe. It keeps the face square and centered so there's room for dippers all around.
Keep dippers sturdy. Firm dippers like pretzels, sandwich cookies and graham crackers scoop the frosting without breaking. Save delicate cookies or soft fruit for the edges of the board.
Variations
- Jack-o'-lantern board. Tint the frosting orange, pipe a round pumpkin, and use black frosting or chocolate chips for a toothy grin and a green frosting stem.
- Ghost board. Leave the frosting white, pipe a ghost shape, and give it mini chocolate cookie eyes and a surprised little "O" mouth.
- Mummy board. Spread a rectangle of frosting, pipe white strips across it with a basketweave or flat tip, and add two candy eyes peeking out.
- Chocolate lovers' version. Use chocolate frosting for the hair so you need far less black coloring, or make the entire base cream cheese frosting for a tangier dip.
- Sprinkle it up. Scatter Halloween sprinkles, candy eyeballs or candy corn around the face for extra color and crunch.
Serving Ideas
Set the board out as the centerpiece of your dessert table, with small plates and napkins nearby, and let everyone dig in. It's a great interactive treat for a kids' Halloween party, a classroom celebration or a grown-up costume party.
It's always nice to offer a mix of sweet and salty dippers. Beyond cookies and pretzels, try crackers, pretzel rods, graham crackers, apple slices, strawberries, dried fruit, pound cake cut into bite-size cubes, or any of your favorite cookies and bars. Serve it alongside a slice of layered chocolate cake with pumpkin cream cheese filling for a full fall dessert spread.
Storing & Freezing
Buttercream boards are best enjoyed the day they're made. If you have leftovers, scrape the remaining frosting into an airtight container and refrigerate it for up to 1 week; store the cookies and pretzels separately at room temperature so they stay crisp. Bring the frosting back to room temperature and re-whip it before using it again.
The assembled board doesn't freeze well, since the cookies and pretzels turn soft. The frosting on its own freezes nicely, though: tint it ahead of time, freeze it in zip-top bags for up to 3 months, then thaw it overnight in the fridge and let it soften on the counter before piping.
More Halloween Treats
Looking for more spooky treats for your Halloween party? Try these reader favorites:
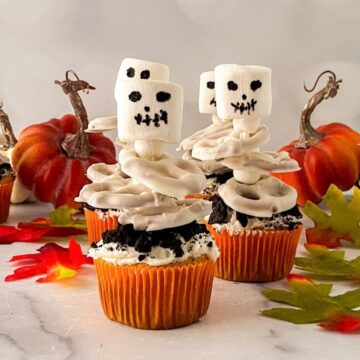
- Halloween Skeleton Cupcakes
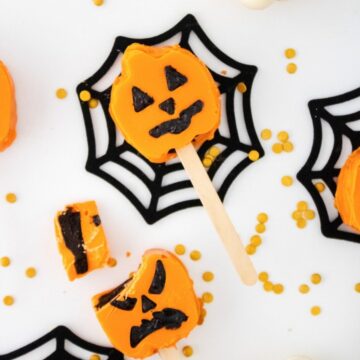
- Halloween Pumpkin Cake Pops
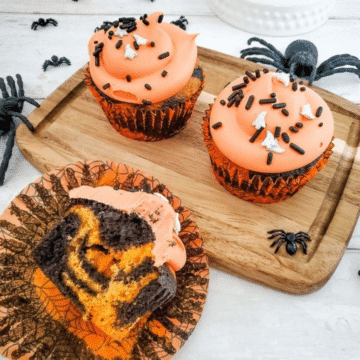
- Crazy-Easy Halloween Cupcakes
- Tipsy Ghostly Guzzle Pudding Shots (for the grown-ups!)
- Roasted Pumpkin Seeds 3 Ways
- Best Pumpkin Recipes for Fall
Recipe
Halloween Buttercream Board
Equipment
- Large Board
Ingredients
- 3 cup vanilla buttercream frosting
- 2 cup mini pretzel
- 2 cup pretzel sticks
- 2 dozen chocolate sandwich cookies
- 1 dozen vanilla sandwich cookies
- 1 dozen mini chocolate sandwich cookies
- Black Gel Food Coloring
- Leaf Green Gel Food Coloring
Instructions
- Tint the frosting green: in a mixing bowl, stir a few drops of leaf green gel food coloring into all of the white frosting until evenly colored.
- Spoon the green frosting into a piping bag fitted with a 1A (large round) piping tip.
- Pipe the outline of the Frankenstein face (a rounded square) onto your serving board.

- Fill in the face by piping lines back and forth with even pressure, as if you're coloring inside the lines. Smooth the frosting with an offset spatula.
- Scrape any remaining green frosting back into the bowl and stir in black gel food coloring until it turns black. Spoon about two-thirds of it into a second piping bag fitted with a 2D (large star) tip and pipe on the hair, holding the tip slightly above the board so it doesn't drag through the green frosting.
- Twist apart 2 regular chocolate sandwich cookies and press the cream-side halves onto the face as the eyes. Press a mini sandwich cookie into the center of each for the pupils.
- Spoon the remaining black frosting into a third piping bag (no tip needed) and snip a very small opening. Pipe on the mouth, a scar and stitches.
- Arrange the cookies and pretzels around the frosting face and serve within 1 to 2 hours.
Notes
Nutrition
Nutrition details are an estimate, per serving.
Leave a Comment